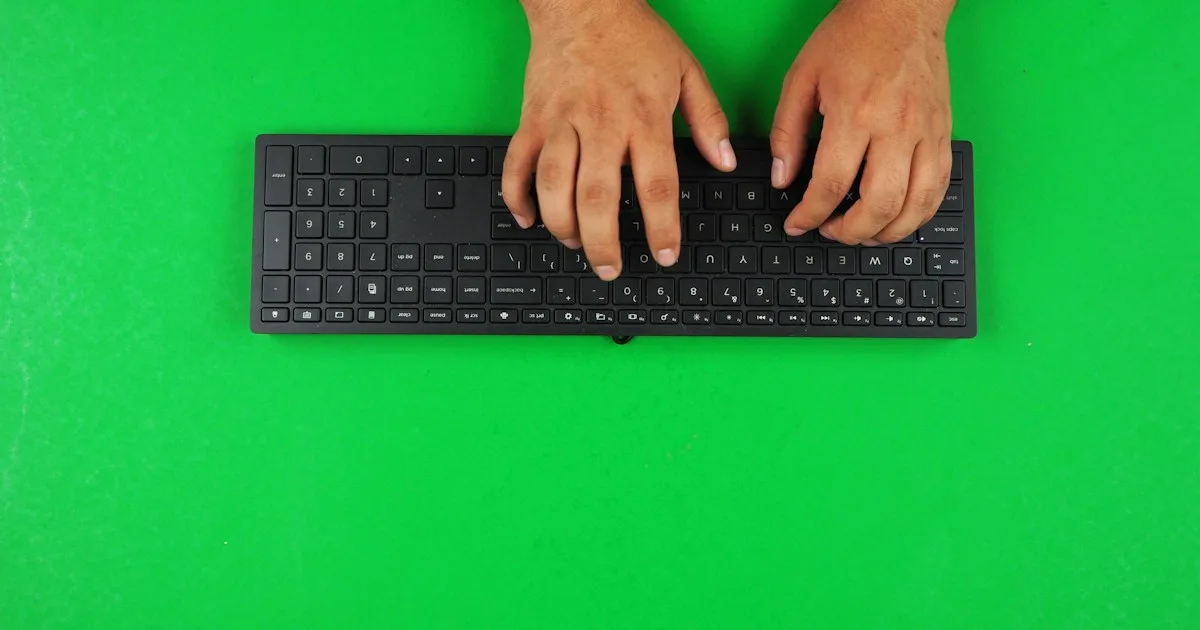
Typing Posture: 6 Checkpoints for Neutral Wrists
A six-point typing posture checklist you can measure in ten minutes: chair height, keyboard height, distance, angle, wrist float and movement breaks.
Short answer: neutral typing posture comes down to six checkpoints — chair height, keyboard height, keyboard distance, keyboard angle, wrist float and movement breaks. You can measure all six in about ten minutes with a chair, a ruler and a phone camera. Most wrist discomfort at a desk comes from failing two or three of them at once, not from a single bad habit.
Posture advice usually fails because it is vague. “Sit up straight” does not tell you what to change, and “keep your wrists neutral” does not tell you when you have succeeded. The checkpoints below are deliberately mechanical: each one has a test, a pass condition and a fix. Work through them in order, because a later checkpoint cannot compensate for an earlier one.
Checkpoint 1: chair height
Test: sit down and put both feet flat on the floor. Look at your knees and hips.
 Desk complementSwurfer SWNX Foot Swing - Under Desk Foot RestAdjustable under-desk foot swing for gentle motion while seated. A playful complement to the precision ergonomics of KeyRiser and MX Keys.View on AmazonPaid link
As an Amazon Associate I earn from qualifying purchases.
Pass: knees are roughly level with the hips, maybe slightly lower. The thighs are supported by the seat, and there is a small gap behind the knee.
Fix: if the knees are higher than the hips, the chair is too low or the desk is too high. Raise the chair first. If that makes the desk too low, the desk is the problem, not the chair.
A chair that is too low pushes the wrists up toward the keyboard. No wrist rest or keyboard riser can correct that geometry.
Checkpoint 2: keyboard height
Test: rest your hands on the keyboard and look at your elbows.
Pass: elbows are at roughly 90°, forearms slope gently down or stay level, and the shoulders are relaxed.
Fix: if the elbows are below the keyboard, the keyboard is too high — lower the desk, raise the chair, or use a keyboard tray. If the elbows are well above the keyboard, the keyboard is too low; raise the desk or add a riser.
This is the checkpoint people skip. They buy an accessory before checking whether the keyboard is at the right height at all.
Checkpoint 3: keyboard distance
Test: type a sentence, then stop. Look at where your elbows are relative to your torso.
Pass: elbows stay close to the body, and the keyboard is within easy reach without leaning forward.
Fix: move the keyboard closer. If the desk is full of papers, move the papers — not the keyboard. A document holder or a second screen is usually the better answer than pushing the keyboard to the front edge.
Distance is also a mouse problem. If the mouse sits far to the right, the shoulder on that side lifts every time you reach for it.
Checkpoint 4: keyboard angle
Test: take a side photo of your hand and forearm while typing.
Pass: the hand is roughly in line with the forearm. The wrist is not bent upward (extension) or downward (flexion) by more than a few degrees.
Fix: if the wrist bends upward on a flat keyboard, raise the rear edge slightly. A fixed 15° riser is enough for most people; a steeper angle is not automatically better. If the wrist bends downward, the keyboard is too high or the chair is too low.
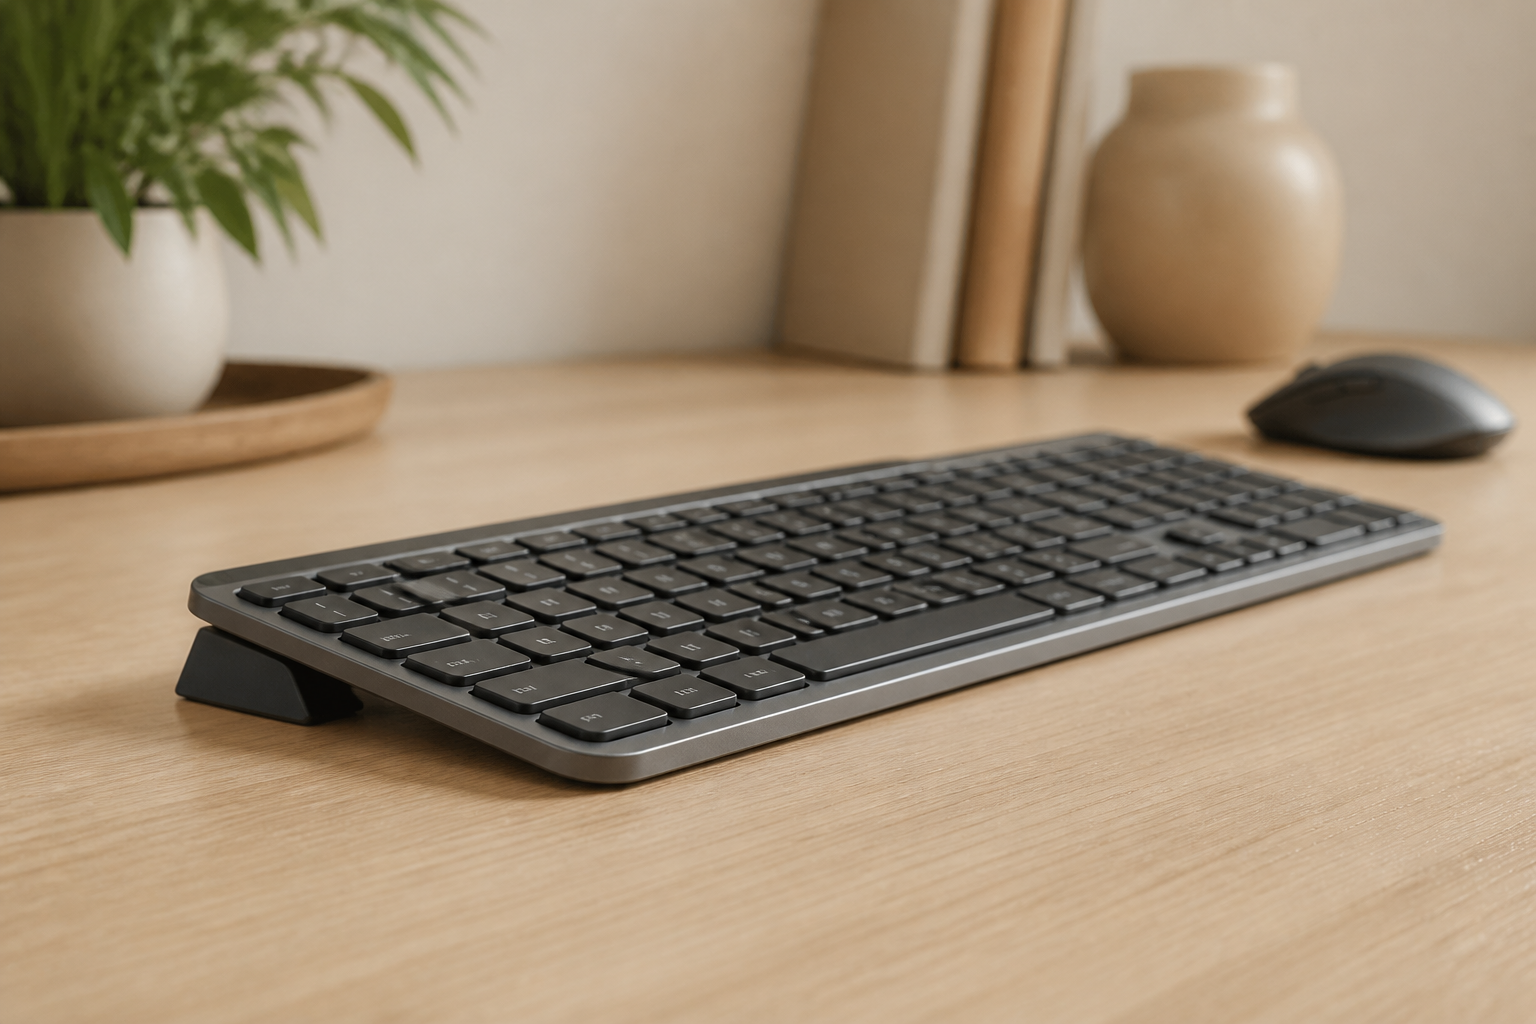
This is where a keyboard riser earns its place. It changes the angle of the key surface, which changes how much the wrist has to extend to reach the keys. It does not change the desk height or the distance, which is why checkpoints 1–3 come first. The guide to choosing a keyboard angle covers the evidence.
Checkpoint 5: wrist float
Test: type for 30 seconds without thinking about your hands, then freeze.
Pass: the wrists are floating just above the desk or resting very lightly on a wrist rest. The heel of the hand is not pressing into a hard edge.
Fix: if you are leaning on the wrist rest while typing, lower the rest or move it back. If your wrists are hovering far above the desk, the keyboard is too low.
A wrist rest is for the pauses between bursts of typing. Using it as a platform for eight hours concentrates pressure on the soft tissue in front of the wrist, which is the opposite of the goal.
Checkpoint 6: movement breaks
Test: look at the last hour. How many times did you stand up?
Pass: at least once per hour, even briefly. Ideally, a short standing break every 30–45 minutes during long typing blocks.
Fix: attach the break to a task you already do — the end of a document, the end of a call, the end of a file. A timer you ignore is not a system.
Posture is not a static shape. Even a good position held for three hours without moving becomes uncomfortable. The best setup is one that makes it easy to change position.
The ten-minute reset
If you only do this once, do it now:
- Set the chair height and check the knees.
- Bring the keyboard close and align the letter block with your sternum.
- Check the elbow angle.
- Take a side photo of the wrist.
- Add angle only if the wrist still extends upward.
- Set one recurring reminder to stand up.
Then repeat the photo test in a week. Small changes are easier to judge over several days than in a single session.
Common posture myths
- “You must sit at 90°.” A slight recline is fine and often more comfortable. The hips and knees matter more than the back angle.
- “A wrist rest prevents wrist pain.” It can reduce contact pressure, but it does not correct keyboard height or angle.
- “Standing desks solve everything.” Standing for hours creates its own problems. The benefit comes from changing position, not from standing all day.
- “Expensive chairs fix bad desk height.” A chair adjusts your body; it cannot lower a desk that is too high.
- “Mechanical keyboards are more ergonomic.” Key feel is personal. Height and angle matter more than switch type.
When posture is not the answer
Posture changes can improve comfort, but they are not a treatment. If you have numbness, tingling, weakness, swelling, or pain that wakes you at night, see a qualified healthcare professional. A keyboard riser is not a medical device, and no desk setup should be used through persistent pain.
Frequently asked questions
What is the correct typing posture?
Feet flat, knees level with the hips, elbows near 90°, keyboard close to the body, wrists roughly in line with the forearms, and a standing break at least once an hour. The exact angles matter less than the relationships between them.
Should my wrists touch the desk while typing?
They can rest lightly on a wrist rest between bursts, but they should not bear weight while you type. Floating or lightly resting is the goal; pressing the wrist into a hard edge is not.
Is a 15° keyboard angle good for typing?
For many people, a slight rear elevation reduces upward wrist extension. It is not universal, and a steeper angle is not better by default. Test it for short sessions and check the side photo again.
How high should my keyboard be?
At roughly elbow height when you sit with your feet flat. If your elbows are below the keyboard, it is too high; if they are well above it, it is too low.
Can typing posture cause carpal tunnel syndrome?
Posture and desk setup can contribute to discomfort, but carpal tunnel syndrome has multiple causes and needs a medical diagnosis. Do not self-diagnose from a desk checklist.
Related KeyRiser resources
- Check current Amazon availability
- Read the neutral typing posture guide
- Find the ideal keyboard height
- Compare a keyboard riser with a wrist rest
- Confirm MX Keys, MX Keys S or MX Keys Mini fit
- See specifications and setup details
This guide is educational content, not medical advice. If pain, numbness, tingling, weakness or swelling persists, consult a qualified healthcare professional. Product availability, price and returns are controlled by Amazon.
Ready for a Better Typing Angle?
Check KeyRiser on Amazon and confirm compatibility with your MX Keys model.
Buy Now - $16.99Related Articles



Complete your MX Keys setup
KeyRiser first, then the desk complements
KeyRiser addresses keyboard angle. These recommendations cover adjacent setup needs without replacing it.
Complete your MX Keys setup
KeyRiser lifts your keyboard; these complements cover mouse, wrist, monitor, or desk support — they do not replace it.
 Desk complementMOSISO Cooling Gel Wrist Rest Support for Mouse Pad and Keyboard SetCooling gel pair for keyboard and mouse that stays comfortable during warm long sessions.View on AmazonPaid link
 Desk complementKensington Duo Gel Wrist Rest BundleA keyboard + mouse gel wrist rest bundle with cooling gel and non-skid base — cushions both hands during pauses while KeyRiser handles the typing angle.View on AmazonPaid link
 Desk complementErgotron LX Monitor ArmA premium gas-spring monitor arm that frees up desk depth for your keyboard and mouse — essential when you raise the keyboard with KeyRiser and need the monitor at eye level.View on AmazonPaid link
 Desk complement3M Desktop Document HolderA compact document holder that props papers at a readable angle while you type on MX Keys with KeyRiser.View on AmazonPaid link
As an Amazon Associate, we earn from qualifying purchases.