Logitech MX Keys for Mac: Complete Setup Guide (2026)
Set up Logitech MX Keys on a Mac: pair it over Bluetooth, configure Logi Options+, use shortcuts, compare Mac and standard models, and improve desk ergonomics.
Logitech MX Keys for Mac: Complete Setup Guide (2026)
The MX Keys is available in two versions: a standard dark gray model with Windows/Alt legends, and a Mac-specific space gray model with Apple key legends and a USB-C to USB-C charging cable. Both work with macOS. The Mac-specific version has a few differences that matter for daily use. This guide covers the setup, software configuration, keyboard shortcuts, ergonomic optimization, and the differences between the standard and Mac versions.
Mac-Specific vs Standard: Which to Buy for a Mac
The Mac-specific MX Keys includes:
- Apple key legends. The bottom row has
control,option, andcommandkeys in the same positions as an Apple Magic Keyboard. The standard version hasCtrl,Win, andAlt— they send the same signals, but the legends don’t match what macOS displays in menu shortcuts. - Space gray finish. Matches the MacBook Pro and Mac Studio aesthetic. The standard version is dark gray with a slightly different tone.
- USB-C to USB-C cable in the box. The standard version includes a USB-C to USB-A cable.
- Mac-specific function row. The F4-F6 keys show Launchpad and keyboard brightness icons instead of Windows-specific icons.
Functionally, the two versions are identical. The standard MX Keys works perfectly with macOS — the Cmd key is the Win key, and Option is Alt. But if you look at the keyboard while learning shortcuts, the mismatch between the printed legends and what macOS expects is annoying. For a permanent Mac setup, the Mac-specific version is worth the small price premium for the correctly labeled keys alone.
Initial Setup with macOS
Bluetooth Pairing
- Turn on the MX Keys (power switch on the top edge).
- Press and hold one of the three Easy-Switch keys (1, 2, or 3) for 3 seconds. The LED blinks rapidly.
- On your Mac, open System Settings → Bluetooth.
- Find “MX Keys Mac” in the device list and click Connect.
- Type the pairing code shown on screen and press Return.
The keyboard is now paired to that Easy-Switch slot. Repeat for up to two more devices.
Using the Logi Bolt Receiver
The Mac-specific MX Keys does not include a Logi Bolt receiver in the box. If you want the lower-latency Bolt connection (useful if you have Bluetooth interference in a crowded wireless environment), purchase a Logi Bolt USB receiver separately, plug it into a USB-C to USB-A adapter, and pair the keyboard via the Logi Options+ software.
For most users, Bluetooth is sufficient. The latency difference between Bluetooth and Bolt is approximately 2-4 milliseconds — imperceptible for typing and coding.
Logi Options+ Software Setup
Download Logi Options+ from Logitech’s website (not the Mac App Store — the App Store version is an older, deprecated version of Logitech Options). Install, open, and click “Add device.” The software detects the MX Keys and walks through:
- Function row behavior. Toggle between standard F1-F12 keys (press Fn to access media functions) or media keys (press Fn to access F1-F12). Most Mac users want standard F-keys, since macOS uses F3 for Mission Control and F4 for Launchpad.
- Backlight settings. Brightness level, auto-off timer, and proximity sensor sensitivity. The default settings are reasonable. Reducing auto-off from 10 seconds to 5 seconds saves battery.
- Custom key assignments. Remap any function-row key to a specific macOS action — Mission Control, Screenshot, Do Not Disturb, or a custom keyboard shortcut. The three most useful custom assignments for developers: remap an unused F-key to
Cmd+Shift+4(screenshot region), remap another toCmd+\`` (switch windows within an app), and remap a third toCmd+Space` (Spotlight) for one-touch access from any key position.
Flow: Cross-Computer Control
Logi Options+ includes Flow, which lets you move the cursor from one computer to another by dragging to the edge of the screen — the keyboard and mouse follow the cursor. To set this up:
- Install Logi Options+ on both Macs (or a Mac and a PC).
- Connect both computers to the same Wi-Fi network.
- In the Flow tab, position the two computer icons as they are physically arranged on your desk.
- Enable Flow.
Flow works between macOS and Windows, macOS and macOS, and macOS and iPadOS (with some limitations on iPad). For developers who run a Mac desktop and a Windows laptop side by side, Flow means one keyboard and one mouse control both machines without pressing a device-selector button.
macOS Keyboard Settings to Change
After pairing, adjust these macOS settings for the best MX Keys experience:
Keyboard → Key Repeat and Delay Until Repeat. Set Key Repeat to Fast and Delay Until Repeat to Short. The MX Keys scissor switches are fast enough that the default macOS repeat rate feels sluggish.
Keyboard → Modifier Keys. If you are using the standard (non-Mac) MX Keys, swap the Option and Command keys here. By default, the Win key maps to Cmd — correct. But Alt maps to Option in the same positions as the standard Mac layout, so no swap may be needed. Test by pressing Cmd+Space (Spotlight). If it works, the modifier mapping is correct.
Keyboard → Touch Bar shows F1, F2, etc. Keys. Irrelevant for the MX Keys (no Touch Bar), but check it’s set to your preference if you also use the MacBook’s built-in keyboard.
Trackpad → Look up & data detectors. Disable “Force Click with one finger” if you accidentally trigger Look Up while reaching for the keyboard.
Bluetooth → Show Bluetooth in menu bar. Enable. The menu bar icon shows battery percentage for connected Bluetooth devices, including the MX Keys.
Keyboard Shortcuts for macOS with MX Keys
The MX Keys function row maps to macOS functions by default when the keyboard is in media-key mode (not Fn-locked). The most useful shortcuts:
| Key | macOS function |
|---|---|
| F1/F2 | Screen brightness |
| F3 | Mission Control |
| F4 | Launchpad |
| F7/F8/F9 | Media: previous, play/pause, next |
| F10/F11/F12 | Volume: mute, down, up |
| Fn+Backspace | Forward delete (delete character to the right of cursor) |
For developers and power users, lock the function row to standard F-keys (press Fn+Esc) and use the F-keys for IDE shortcuts. The media functions are then accessed with Fn+F-key.
The Flat-Keyboard Problem on Mac Setups
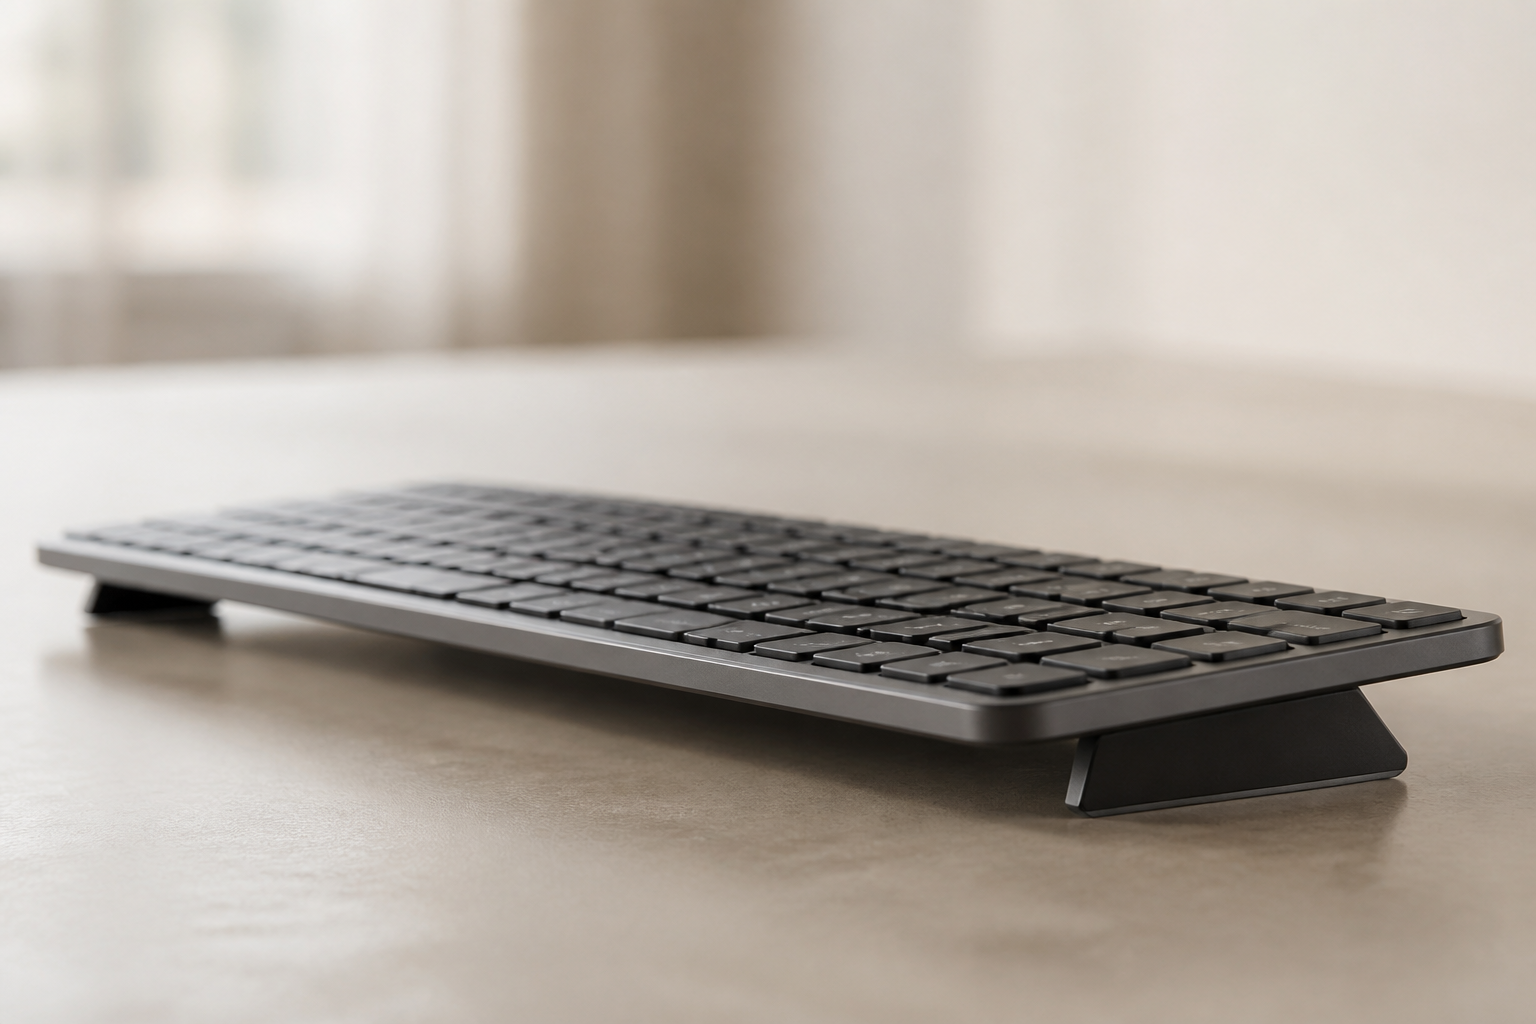
The MX Keys for Mac has the same flat-profile ergonomic issue as the standard version. It ships nearly flat, with approximately 6 mm of case height and rear flip-out feet that add 4-6 degrees of stock feet — the wrong direction for wrist health.
On a Mac setup — typically a clean desk with a MacBook on a stand and an external keyboard — the flat keyboard is worse than on a PC setup because Apple desks and monitor stands trend toward lower keyboard-surfaces than the standard 29-inch office desk. A lower desk means the keyboard sits closer to the user’s lap, which means less natural wrist extension from desk height but more from the flat keyboard angle. The net wrist extension on a typical Mac desk with a flat MX Keys is approximately 15-25 degrees — above the range where carpal tunnel pressure increases per the Marklin and Simmons (1997, JAIHA) data.
The fix is identical to the standard MX Keys: a footprint-matched rear-lift keyboard riser that lifts the rear of the keyboard 12-15 degrees above the front. The Mac-specific MX Keys shares the same 430 × 131 mm footprint as the standard full-size version, so a riser designed for one fits both.
Summary
The MX Keys for Mac is the best non-Apple keyboard for macOS users who want a quiet, precise typing experience with the correct key legends. Setup takes under 5 minutes. Logi Options+ adds Flow cross-computer control, which is uniquely useful for multi-device Mac workflows. The single ergonomic caveat — the flat-keyboard wrist extension problem — has the same mechanical fix as the standard MX Keys.
The MX Keys for Mac shares the exact footprint of the standard MX Keys. Get the KeyRiser — fits both versions →
If you hop between a Mac, a PC, and an iPad on Easy-Switch, keep the board on one desk at a fixed 15° instead of typing flat on every host: MX Keys Easy-Switch multi-device setup.
Related: Logitech MX Keys: The Complete Guide | MX Keys vs Apple Magic Keyboard | MX Keys Ergonomic Setup Guide
Frequently Asked Questions
Q: Is the MX Keys for Mac worth the extra cost over the standard version?
A: For a permanent Mac setup, yes. The correctly labeled Command and Option keys save you from looking at the keyboard when learning shortcuts. The space gray finish matches Apple hardware. If you split usage between Mac and Windows, the standard version is more practical.
Q: Does the MX Keys for Mac work with an iPad?
A: Yes. Pair via Bluetooth. The keyboard works as a standard external keyboard. Function row keys (brightness, volume) control the iPad. Note: iPadOS does not support Logi Options+ or Flow.
Q: Can I use the MX Keys for Mac with a Windows PC?
A: Yes. The Option key maps to Alt, and Command maps to the Windows key. The key legends won’t match, but all functions work. If you regularly switch between Mac and Windows, the standard MX Keys is a better choice — the legends are more neutral.
Q: What is the difference between the MX Keys Mac and the Apple Magic Keyboard?
A: The MX Keys has deeper key travel (1.8 mm vs 1.0 mm), multi-device switching, a proximity-sensing backlight, and a slightly wider key pitch. The Magic Keyboard is thinner, lighter, and has a built-in Touch ID sensor on newer models. For typing comfort, most users prefer the MX Keys. For portability and Apple ecosystem integration, the Magic Keyboard wins.
Ready for a Better Typing Angle?
Check KeyRiser on Amazon and confirm compatibility with your MX Keys model.
Buy Now - $9.99