How to Install KeyRiser on MX Keys (60-Second Setup)
Install KeyRiser on MX Keys, MX Keys S, or Mini in about a minute. Confirm the model, seat both rear feet, check for wobble, and know when not to force the fit.
How to Install KeyRiser on MX Keys, MX Keys S & Mini (60-Second Setup)
KeyRiser installs in about a minute: two PLA feet seat on the rear underside of a Logitech MX Keys, MX Keys S, or MX Keys Mini. Confirm the model, snap each foot onto the rear edge, press-test for wobble, then type a short session. If a foot will not sit flush, do not force it — the keyboard is not compatible.
This is a product install guide, not a lecture on why you should raise a keyboard. If you want the broader “raise safely” context (props to avoid, angle range, posture checks), read How to Raise a Logitech MX Keys Keyboard Safely. Here the job is simpler: get the two feet on the right chassis, confirm a solid seat, and know what to do if they will not click home.
KeyRiser is an independent accessory. It is not affiliated with Logitech. It is not a medical device. Comfort is personal.
What’s in the box
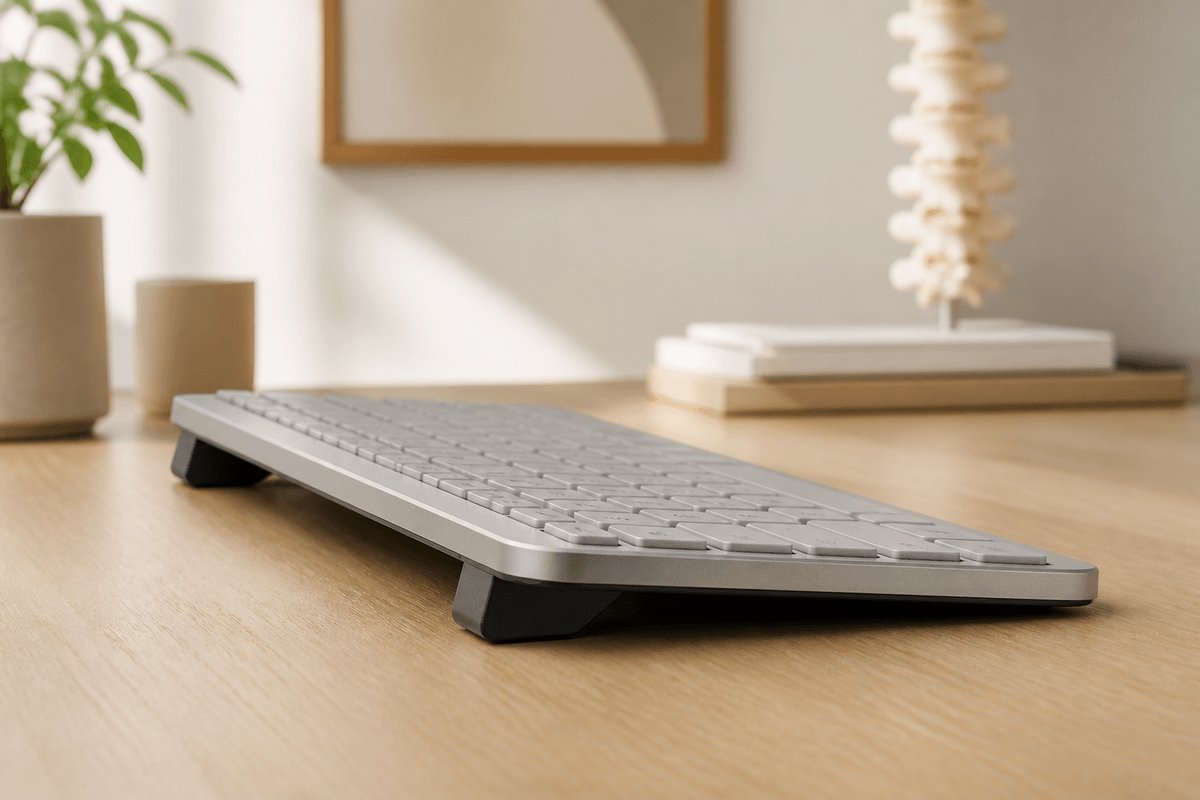
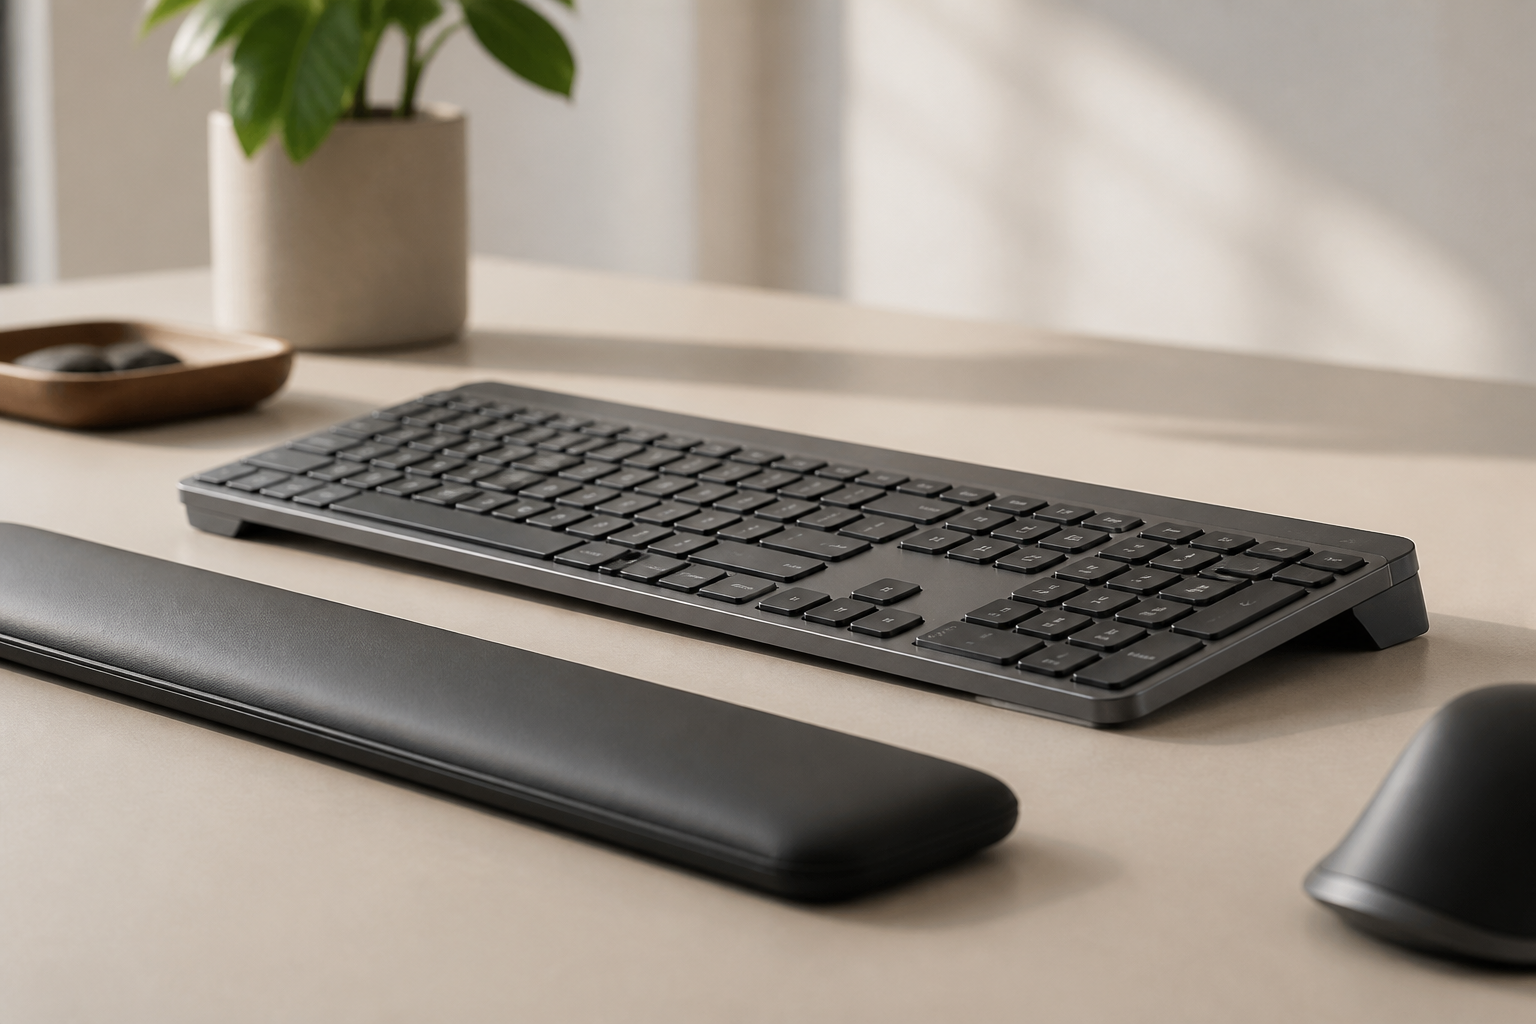
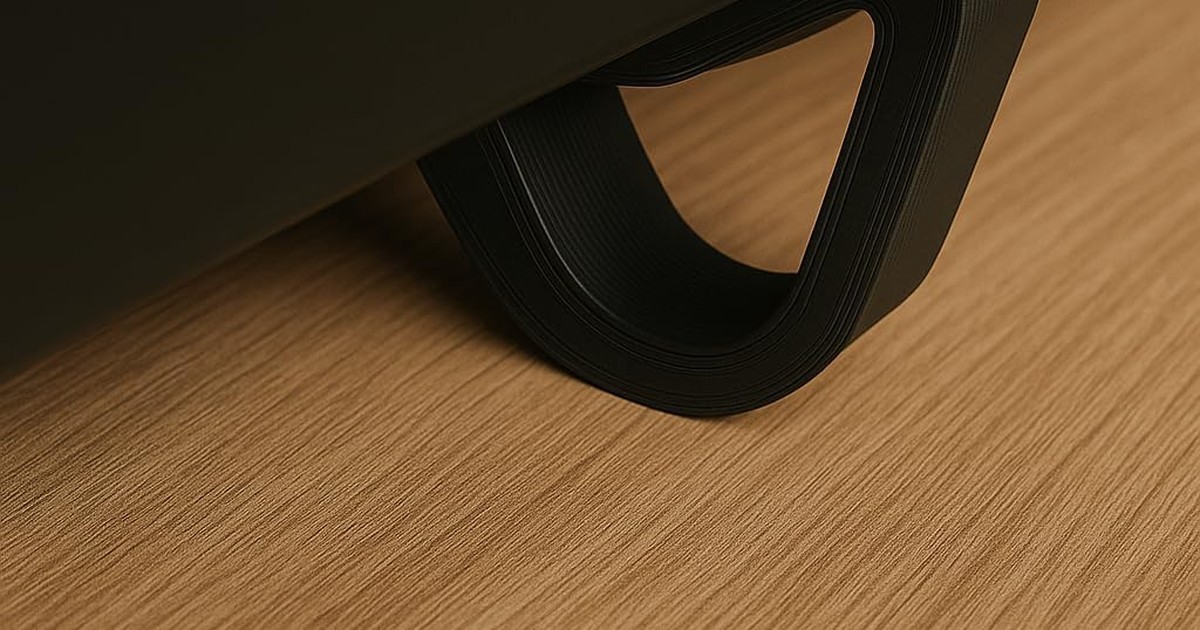
A KeyRiser set is two matching matte-black PLA feet. There is no tray, no under-desk hardware, no adhesive sheet, and no tool. Each foot is shaped to the rear underside of the MX Keys family, so the keyboard’s back edge sits higher than the front and the typing surface holds a fixed 15° rear lift.
Before you open the bag, clear a small patch of desk. You want a clean, dry surface and enough light to see the rear corners of the keyboard. Dust, a silicone desk mat that is peeling, or a wet wipe residue will make a correct foot feel like it is sliding — that is a surface problem, not a defective riser. If the keyboard already slides on glass after a riser is on, see MX Keys Slides After a Riser?.
You do not need to remove Logitech’s original rubber pads. KeyRiser does not replace those strips. It adds two rear feet that lift the back edge.
Confirm compatibility first (MX Keys / S / Mini only)
Do this before you touch the feet. KeyRiser is model-specific. The listing and the compatibility page name three keyboards:
- Logitech MX Keys (full-size)
- Logitech MX Keys S (same full-size chassis family)
- Logitech MX Keys Mini
If the name on the box, in Bluetooth settings, or in Logi Options+ is not one of those three, stop. Do not try the feet on a Wave Keys, an MX Mechanical, a Magic Keyboard, a tenkeyless of unknown origin, or “a compact Logitech that looks similar.” A near miss is how feet get forced, corners get marked, and Amazon returns get opened for the wrong reason.
Quick checks that actually help:
- Mini: no number pad, shorter rear edge, compact footprint.
- MX Keys / MX Keys S: full-size layout with a number pad. S looks almost identical to the original MX Keys; KeyRiser is specified for both.
- Unsure: read the model string in Bluetooth or on the retail box, then check compatibility. If you are choosing between Mini and full-size for the riser’s fit, not for which keyboard to buy, see MX Keys Mini vs Full-Size: Does KeyRiser Fit Both?.
A compatible keyboard is the only green light. Everything after this section assumes you have one.
If the checklist is a yes, you can buy KeyRiser on Amazon (ASIN B0F6QGSXHV) and come back to the steps. If it is a no, do not order the set for that keyboard.
Step-by-step rear-edge install
Installation is tool-free. Do not add tape, glue, or extra wedges.
- Power the desk down mentally. You are not flashing firmware. You are seating two parts. Take the keyboard off any charging cable if the cable fights you when you flip the board.
- Flip the keyboard so the underside faces up. Find the two rear corners — the edge farthest from you when you type, closest to the monitor in a normal desk layout.
- Identify left and right. The two feet are a pair. Each one is meant for one rear corner. Line the contact face of a foot with the curved underside near that corner. You are aiming at the rear edge, not the front edge, and not the middle of the chassis.
- Seat the first foot. Press it on with a firm, even push until it sits flush against the underside. You may feel a light click. You should not need body weight, a mallet, or a twisting motion. If it only goes on with a grind, stop and skip to “When not to force the fit.”
- Seat the second foot the same way on the other rear corner. Both feet should sit at the same depth. If one is proud and one is buried, remove both and reseat rather than compensating with a shim.
- Flip the keyboard back over and set it on the desk. The rear edge should be higher than the front. The front edge should still rest toward the desk. That is rear lift, not a front-up “stock feet” slope.
That is the entire mechanical install. Most people spend more time confirming the model name than pressing the feet on.
Good seat vs wobble checklist
A correct install is boring: the keyboard does not rock, the feet do not walk out, and both rear corners feel like one unit.
Run this 20-second check:
- Flush contact. Look along the rear underside. You should not see a daylight gap where a foot is only hanging on one edge.
- Even height. Sight across the top of the keyboard. One corner should not sit higher than the other.
- Press-test. Put both hands on the board and type a fast line, then press near each rear corner. Rocking, ticking, or a foot that creeps inward means the seat is wrong.
- No twist. The keyboard should not yaw when you bottom out a key on one side.
- Front edge still down. If the front is in the air and the rear is on the desk, the feet are on the wrong edge. Remove them and start again.
Wobble after a correct seat is usually the desk, not the PLA: a glass sheet, a thick gel mat, or a warped folding table. Clean the contact patches. Try a cloth desk mat. Do not glue the feet to the keyboard or the desk.
First short typing session
Do not judge the 15° lift in the first thirty seconds of hunting-and-pecking. Do a short, real session on a desk you already use.
- Keep the chair and monitor where they already are. You are testing the keyboard seat, not rebuilding the room.
- Type normally for five to ten minutes — email, a document, a chat. Fast enough to load the feet, not a marathon.
- Notice stability first: does anything click, slide, or lift?
- Notice the slope second. A fixed 15° rear lift feels different from a dead-flat MX Keys. That change is expected. If the slope feels aggressive after you know the feet are seated, that is an adaptation question, not an install failure — see KeyRiser Feels Too Steep?.
If something feels sharp, numb, or painful, stop. A riser is a desk accessory. Persistent symptoms belong with a qualified clinician, not with another angle experiment.
Troubleshooting
A foot will not sit flush. Remove it. Check that you are on a listed MX Keys / S / Mini and on the rear edge. Reseat with a straight push. If it still will not seat, do not heat the PLA, do not sand the keyboard, and do not force it. Wrong chassis is the most common cause.
The keyboard rocks left-right. One foot is not fully home, or the two feet are not a matched pair on the two rear corners. Reseat both. Confirm you did not put both feet on one side.
The keyboard slides forward. The feet can be seated correctly and still slide on glossy glass or a slick standing-desk frame. Clean the desk, add a mat, and read the slide fix. Do not add household adhesive.
The slope looks backward. Feet ended up on the front edge. That raises the front and drops the rear — the opposite of KeyRiser’s design. Take them off and move them to the rear.
Bluetooth or Easy-Switch still works, but the board feels “taller.” That is the 15° rear lift, not a pairing bug. Cables and the Logi Bolt receiver are unrelated to the feet. You should not need to re-pair after a correct install.
You opened the set for a keyboard that is not listed. Do not improvise. Use Amazon’s return flow for the unused or unused-enough set and pick a product that actually names your keyboard.
When NOT to force the fit
Forcing is how a model-specific part becomes a return with a scuffed corner.
Do not:
- Hammer, twist, or boil the feet to “make them fit.”
- Use KeyRiser on a keyboard that is not MX Keys, MX Keys S, or MX Keys Mini.
- Stack the feet on books, boxes, or a second riser to change the angle. The angle is fixed at 15°.
- Glue the feet to the chassis. They are meant to seat and, if needed, come off for a return or a bag.
- File the underside of the keyboard. You will not improve the geometry, and you may void the keyboard’s own finish.
If the install takes more than a minute of fighting, the answer is almost always compatibility, not technique. Recheck the model, then use Amazon returns if you bought for the wrong board. Shipping, stock, and return terms are Amazon’s; KeyRiser does not invent a parallel policy.
Buy and support links
When the three-model checklist is a yes, the next step is the live listing, not another blog tab.
- Confirm the board: compatibility
- Product page: Logitech MX Keys keyboard stand
- Purchase: Buy KeyRiser on Amazon — ASIN B0F6QGSXHV
- After install, if 15° feels like a lot: too steep guide
- Mini vs full-size seating: fit comparison
KeyRiser is two rear feet, a fixed 15° lift, and a short install on three named keyboards. If those constraints match what you own, seat the feet, press-test, and type. If they do not, leave the set in the bag.
FAQ
How long does KeyRiser take to install?
About a minute once the keyboard is in your hands: flip, seat two rear feet, flip back, press-test. Confirming that you actually own an MX Keys, MX Keys S, or Mini should take longer than the mechanical steps.
Does KeyRiser fit MX Keys Mini?
Yes. Mini is one of the three listed models. The Mini’s shorter rear edge changes how the feet sit compared with full-size, not whether the product is in spec. See the Mini vs full-size fit guide.
What if the feet wobble?
Reseat both feet on the rear corners and press-test again. If the seat looks flush and the desk is glass or a slick mat, treat it as a surface issue. Do not glue. If a foot never sits flush, you are likely on an unsupported keyboard.
Can I use KeyRiser on a keyboard that is not MX Keys, MX Keys S, or Mini?
No. Do not force a near-fit. Return the set via Amazon and choose a riser that names your actual keyboard.
Do I need tools or adhesive?
No. A correct install is two hands and a clear desk. Adhesive is a workaround for the wrong product or the wrong surface.
Will install scratch the MX Keys?
Seat with a straight push on a compatible chassis. Do not twist, pry, or sand. We do not claim that every desk and every unboxing is mark-free; a forced fit on the wrong board is the scenario to avoid.
KeyRiser is a desk accessory for three Logitech MX Keys models, sold on Amazon. It is not affiliated with Logitech and is not a medical device. If discomfort becomes pain, numbness, or tingling that does not settle, speak with a qualified health professional.
Ready for a Better Typing Angle?
Check KeyRiser on Amazon and confirm compatibility with your MX Keys model.
Buy Now - $9.99