Gaming with MX Keys: Ergonomic Setup Guide - KeyRiser Guide
Complete guide to gaming on Logitech MX Keys. Optimize for esports and marathon sessions with a proper ergonomic setup to reduce typing strain and play longer.
Gaming with Logitech MX Keys: Ergonomic Setup for Marathon Sessions
“The MX Keys isn’t a gaming keyboard!” You’ll hear this all over Reddit and gaming forums. And technically, they’re right—it’s marketed as a productivity keyboard. But here’s the truth: thousands of gamers use the MX Keys successfully, and with proper ergonomic setup, it can be your secret weapon for pain-free marathon gaming sessions.
Why Gamers Choose MX Keys (Despite the Haters)
The Unexpected Benefits:
1. Low-Profile Keys Reduce Finger Fatigue
- Shorter travel distance = less repetitive strain
- Perfect key shape reduces mis-presses
- Tactile feedback without exhausting your fingers
2. Multi-Device Switching for Streamers
- Instant switch between gaming PC and streaming PC
- No cable swapping during live streams
- Bluetooth stability for wireless setups
3. Premium Build Quality
- Solid metal plate eliminates keyboard flex
- Keys don’t become mushy after millions of presses
- Professional aesthetic for streaming setups
4. The Silent Advantage
- Perfect for late-night gaming sessions
- Stream-friendly (no mechanical clacking on mic)
- Ideal for shared living spaces
The Critical Problem: Flat Gaming Position
Here’s where most MX Keys gamers go wrong: they game with the keyboard flat.
What Happens During Gaming:
Traditional Mechanical Gaming Keyboards:
- Often have adjustable feet for rear elevation
- Create even worse wrist angles
- Marketed as “gaming” despite poor ergonomics
MX Keys Default Position:
- Completely flat profile
- Wrists forced into extension during WASD grip
- Ulnar deviation during intense gaming moments
The Result After 4+ Hour Sessions:
- Wrist pain and stiffness
- Finger numbness (especially pinky and ring finger)
- Shoulder tension from poor arm position
- Long-term risk of gamer’s thumb and RSI
The 15° Gaming Revolution
Professional esports teams have ergonomic coaches for a reason. Proper keyboard angle isn’t just comfort—it’s competitive advantage.
The Science of Keyboard Tilt for Gaming:
Neutral Wrist Position Benefits:
- Faster reaction time - Less muscle tension = faster movements
- Better accuracy - Stable wrist = more precise aiming
- Longer sessions - No pain = no performance degradation
- Career longevity - Protect your competitive years
Why 15° Front Elevation?
- Aligns wrists with forearms naturally
- reduces wrist extension during play
- Eliminates compensatory shoulder movement
- Matches natural hand-resting angle
Real Gamer Testimonial:
“I stream 6-8 hours daily. Switched to elevated MX Keys after wrist surgery scare. Three months later: less typing discomfort, better KDA, and my stream quality improved because I’m not grimacing from wrist pain.” - TwitchGamer_Mike
Complete Gaming Ergonomic Setup for MX Keys
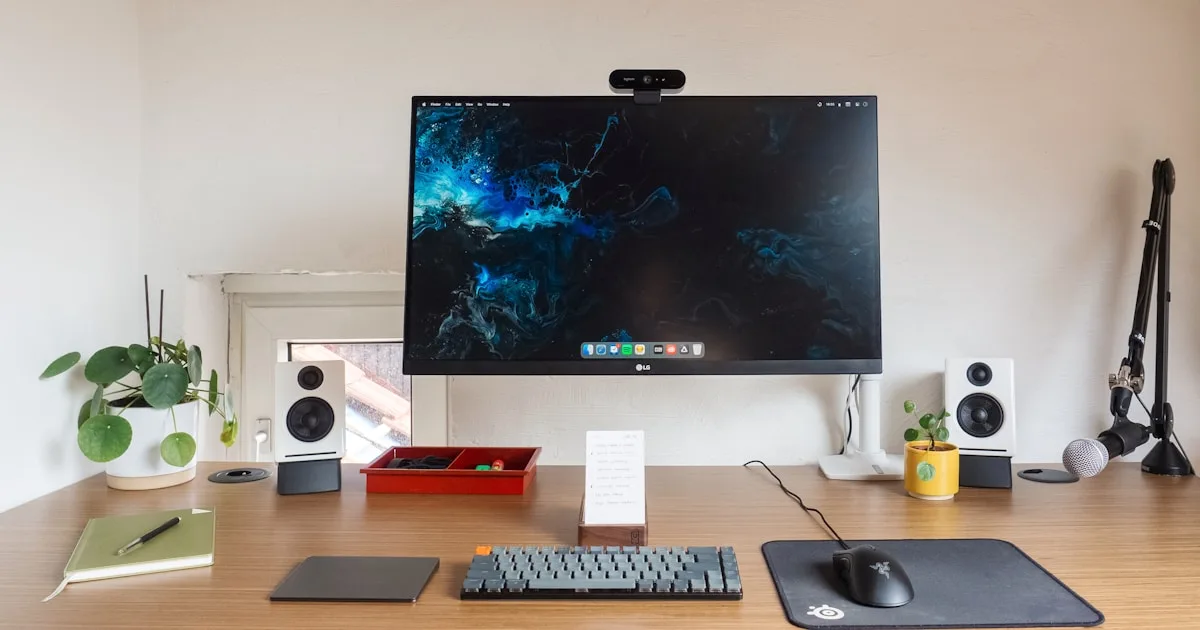
1. The Foundation: Keyboard Position
Height:
- Desktop surface should allow 90° elbow angle
- Keyboard directly in front of your dominant mouse hand side
- Top row of keys at or slightly below elbow height
Angle:
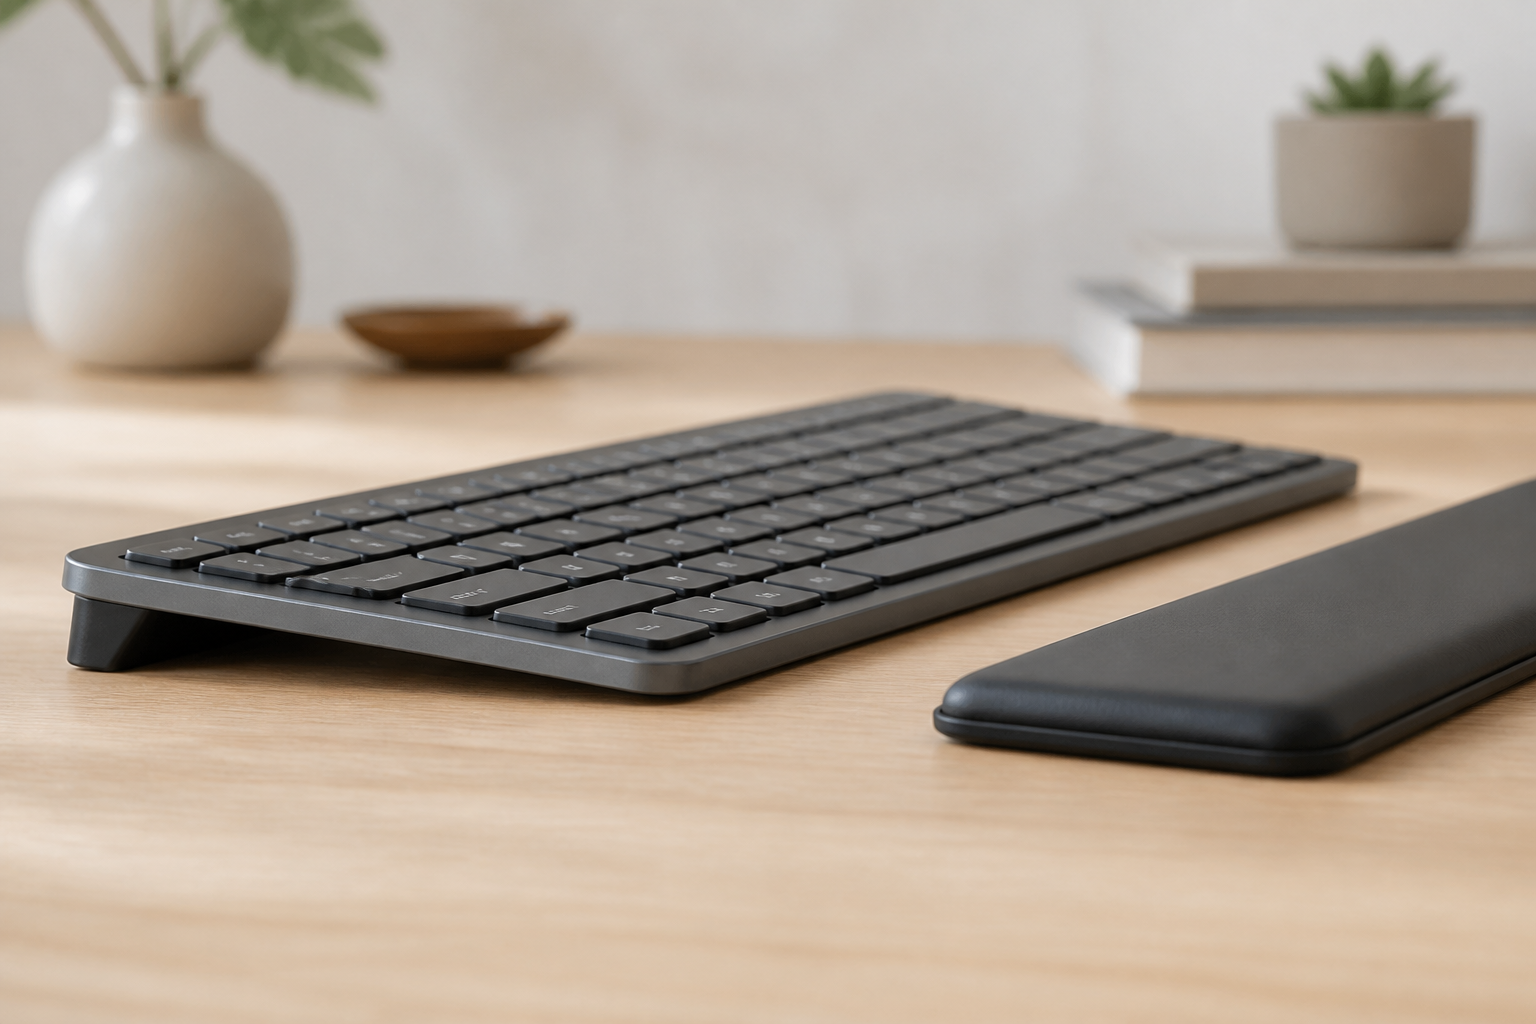
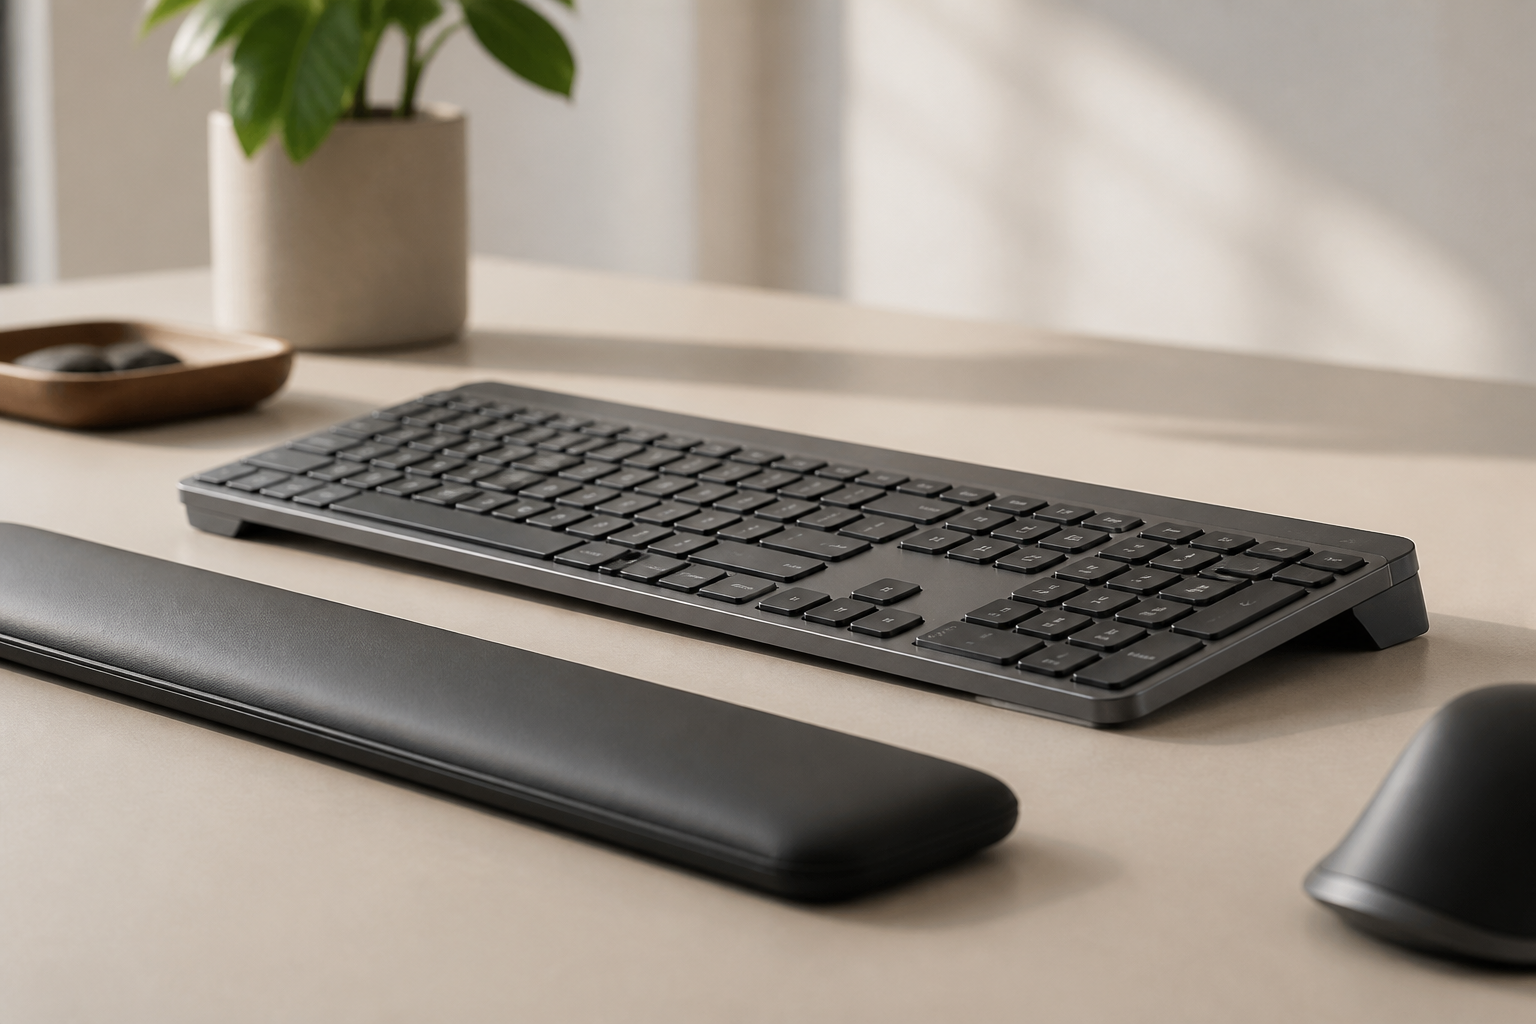
- 15° rear lift (front elevated)
- Use a precision keyboard stand designed for MX Keys
- Ensure stable base—keyboard shouldn’t wobble during intense moments
Distance:
- 4-6 inches from desk edge
- Close enough for relaxed arms
- Far enough for mouse movement space
Pro Gamer Tip: Many competitive gamers tilt their keyboard 30-45° to the left (for right-handed mouse users). This works WITH a 15° elevation stand, not instead of it.
2. Mouse Position & Pad
The Overlooked Issue: Your keyboard ergonomics mean nothing if your mouse setup is destroying your elbow.
Optimal Mouse Setup:
- Same height level as keyboard
- Minimal reach from WASD position
- Large mouse pad (at least 18” wide)
- Mouse weight under 100g for extended sessions
Wrist Position:
- Neutral posture (not bent left/right)
- Forearm rests on desk, not wrist
- No pressure points on wrist bones
3. Monitor Height & Distance for Gaming
Gaming monitors need different positioning than productivity monitors.
For Competitive Gaming:
- Height: Eye level at center of screen (not top)
- Distance: 20-24 inches (closer than productivity work)
- Angle: Perpendicular to eyes (0° tilt for fast games)
For Immersive/RPG Gaming:
- Height: Top 1/3 at eye level
- Distance: 24-30 inches
- Angle: Slight upward tilt (5-10°)
Dual Monitor Streaming Setup:
- Gaming monitor: Primary position, eye level
- Stream monitor: 30° to side, slightly lower
- Chat/alerts: Vertical monitor to side
4. Chair & Posture for Gaming
The Gamer Lean: We all do it—leaning forward during intense moments. Proper ergonomics accommodates this.
Optimal Gaming Chair Setup:
- Seat Height: Feet flat, thighs parallel to ground
- Backrest: Slight recline (95-100°), not bolt upright
- Armrests: Support forearms, adjustable for different games
- Lumbar: Firm support, fills lower back curve
$200 vs $2000 Gaming Chair: The price difference is mostly branding. Focus on adjustability, not RGB lights.
5. Lighting for Reduced Eye Strain
Ambient Lighting:
- Bias lighting behind monitor (reduces eye strain)
- Warm color temperature (2700-3000K)
- Consistent lighting (no dramatic shadows)
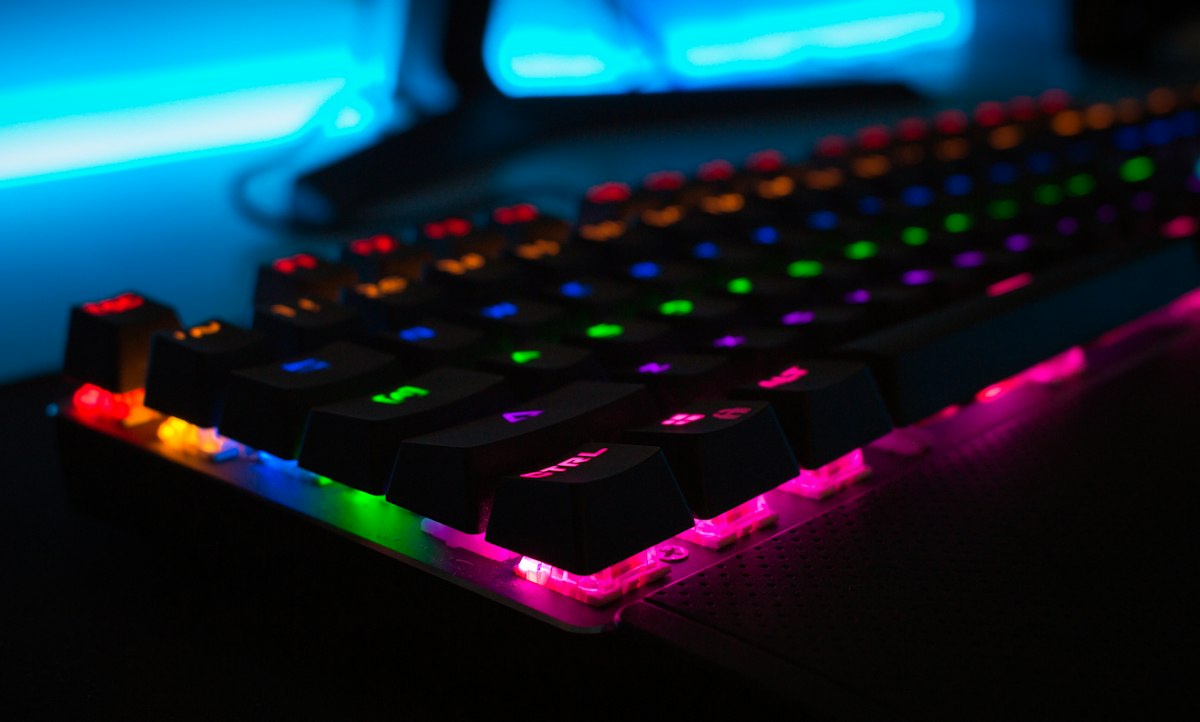
RGB Setup:
- Functional, not just aesthetic
- Match monitor brightness roughly
- Red/orange spectrum for late-night sessions
Blue Light Management:
- Enable night mode after 7 PM
- Gaming glasses for marathon sessions
- Monitor blue light filter settings
Gaming-Specific Keybinds for MX Keys
The MX Keys layout is different from traditional mechanical keyboards. Optimize your binds:
MOBA/RTS Games:
- Take advantage of the full-size layout
- F-keys easily accessible for abilities/macros
- Number pad for item builds (if you use full-size MX Keys)
FPS Games:
- Standard WASD works perfectly
- Consider ESDF for more accessible keys
- Program side buttons in Logitech Options+
MMO Games:
- Utilize all F-keys for action bars
- Modifiers (Ctrl, Shift, Alt) work great with low-profile switches
- Number keys 1-6 more comfortable than 7-0
Break Routines for Gamers
The Competitive Gamer’s Dilemma: You can’t pause ranked matches for stretches. Plan breaks strategically.
Between Matches (2-3 minutes):
- Stand and walk around
- Wrist rotations (10 each direction)
- Shoulder rolls
- Hand stretches
- Eye rest (look at distant objects)
Hourly Break (5 minutes):
- Full body stretch
- Wrist and finger stretches
- Drink water (hydration critical)
- Look away from screen
- Posture reset
Daily Practice:
- Pre-game warm-up stretches (5 min)
- Post-game cool-down stretches (5 min)
- Ice wrists if any inflammation
- Track pain levels in gaming journal
Game-Specific Ergonomic Considerations
Competitive FPS (Counter-Strike, Valorant, Apex):
- Intensity: Highest wrist strain
- Position: Low sensitivity = more wrist movement
- Breaks: Every 3-4 matches mandatory
- Risk: Aim trainers increase injury risk—limit sessions
MOBA (League, Dota 2):
- Intensity: High click frequency
- Position: Wrist neutral, fingers do the work
- Breaks: Between games (15-30 min matches)
- Risk: Mouse hand higher risk than keyboard hand
MMO (WoW, FFXIV):
- Intensity: Moderate but extended duration
- Position: More static, less dynamic movement
- Breaks: Every dungeon/raid (60-90 min)
- Risk: Static posture causes more back/neck issues
Strategy/Turn-Based (Civilization, XCOM):
- Intensity: Lowest physical demand
- Position: Can maintain relaxed posture
- Breaks: Natural turn-end breaks
- Risk: Sedentary behavior, not acute injury
Battle Royale (Fortnite, PUBG):
- Intensity: Variable (calm looting → intense fights)
- Position: Must accommodate sudden intensity changes
- Breaks: Post-match (20-30 min games)
- Risk: Sudden intensity spikes cause acute strain
The Streaming Setup Consideration
If you stream, ergonomics matter 2x:
- Viewers notice when you’re uncomfortable
- Camera angle shows your posture
- Longer sessions = more injury risk
- Pain affects entertainment value
Optimal Streaming Ergonomics:
- Keyboard angle appropriate for camera view
- Good posture looks professional on camera
- Pain-free sessions = better energy and engagement
- Viewers appreciate when you model healthy habits
Common Gaming Ergonomic Mistakes
Mistake #1: “I’m Young, I Don’t Need Ergonomics”
Professional gamers retire in their mid-20s partly due to wrist injuries. Start prevention NOW.
Mistake #2: Copying Pro Setups Exactly
Pro gamers often have terrible ergonomics but survive through:
- Team physiotherapists
- Daily treatment sessions
- Shorter career spans than you want
Mistake #3: The “One More Game” Trap
Pain develops gradually. By the time you notice it, damage is done. Stick to break schedules.
Mistake #4: Ignoring Early Warning Signs
- Finger numbness
- Wrist stiffness
- Forearm tightness
- Shoulder pain
These aren’t “normal gaming fatigue”—they’re injury warnings.
Mistake #5: Gaming Through Pain
Never game through wrist pain. Ever. Take days off if needed. Chronic injuries can end gaming careers.
Budget Gaming Ergonomic Setup
You don’t need $2000 to game safely:
Essential ($0-50):
- ✅ MX Keys keyboard stand (check Amazon for current price, normally $9.99)
- ✅ Proper chair height (free)
- ✅ Break timer app (free)
- ✅ Stretching routine (free)
Recommended ($50-150):
- ✅ Large mouse pad ($20-30)
- ✅ Ergonomic mouse ($40-70)
- ✅ Monitor arm ($50-80)
- ✅ Bias lighting ($15-25)
Optimal ($150-400):
- ✅ Quality gaming chair ($150-250)
- ✅ Adjustable desk ($120-200)
- ✅ Footrest ($20-30)
- ✅ Blue light glasses ($30-50)
Measuring Gaming Performance Improvement
Track these metrics after implementing ergonomic changes:
Performance Metrics:
- Session length before fatigue
- Accuracy/KDA in final hour vs first hour
- Number of mis-clicks or missed inputs
- Subjective comfort ratings (1-10)
Health Metrics:
- Pain frequency and severity
- Stiffness upon waking
- Need for typing comfort methods
- Recovery time between sessions
Expected Timeline:
- Week 1: Adjustment period (may feel different)
- Week 2: Comfort improvements noticed
- Week 4: Performance consistency improves
- Month 3: Long-term pain prevention established
The Competitive Advantage of Ergonomics
Peak performance requires peak comfort:
- Consistency: Pain-free players perform consistently across long sessions
- Reaction Time: Neutral wrist position = faster nerve signals
- Endurance: Proper setup allows 8+ hour practice sessions
- Longevity: Career span measured in years, not months
Pro Scene Examples: Many retired pros cite wrist injuries as career-ending. The ones with longest careers? Often had better ergonomic awareness.
Your Gaming Ergonomics Action Plan
Immediate (Today):
- Elevate MX Keys to 15° angle
- Adjust chair height for 90° elbows
- Position monitor at appropriate height
- Set break timer
This Week:
- Optimize mouse position and pad
- Implement between-match stretches
- Track pain/comfort levels
- Adjust keybinds if needed
This Month:
- Budget for priority upgrades
- Develop consistent break routine
- Monitor performance metrics
- Share setup with gaming friends
The Bottom Line for Gamers
The Logitech MX Keys can absolutely be a gaming keyboard—if you set it up correctly. The low-profile switches, solid build, and multi-device features make it excellent for gaming/productivity hybrid setups.
The secret? Proper ergonomic positioning, especially the 15° keyboard elevation that transforms it from a wrist-strain machine into a performance tool.
Your gaming career—whether casual, competitive, or professional—depends on healthy wrists. Don’t wait for pain to force change.
At check Amazon for current price (normally $9.99), a precision keyboard stand is cheaper than a single AAA game but delivers years of pain-free gaming. Your future KDA will thank you.
Related Reading
- Logitech MX Keys: Why It Needs an Ergonomic Stand
- Gaming vs Office Keyboards: Complete Guide
- Keyboard Tilt Angle Science: Why 15 Degrees is Optimal
- Wrist Pain Recovery: 7-Day Action Plan
Game smart. Game safe. Game for life.
Ready for a Better Typing Angle?
Check KeyRiser on Amazon and confirm compatibility with your MX Keys model.
Buy Now - $9.99