Keyboard setup for data entry and transcription work (2026)
A high-volume typing setup for data entry and transcription: number pad placement, headset workflow, wrist-neutral angle, and a stable 15° riser.
Data entry and transcription are endurance jobs. The work is not a burst of typing followed by a meeting; it is hours of continuous input, often with a headset on, a recording playing and a second screen showing the source. The hands stay in the same small area while the eyes and ears work at a different pace. That combination makes small setup problems add up quickly.
A keyboard riser is not a cure-all, and it is not the first thing every data entry worker needs. But the angle of the keyboard, the position of the number pad and the distance to the mouse all shape how many micro-adjustments the wrists make in an eight-hour shift. This guide covers a practical setup for high-volume typing, with specific attention to transcription, numeric entry and the headset workflow.
Why data entry and transcription stress the wrists
The obvious risk is repetition. The less obvious risk is fixed position: the hands stay in one place for a long time, so any awkward angle is repeated thousands of times. Three patterns matter:
 Desk complementHyperX Wrist Rest - Tenkeyless Cooling GelTenkeyless-length gel rest that matches compact boards without dead space on the desk.View on AmazonPaid link
As an Amazon Associate I earn from qualifying purchases.
- The number pad pulls the letter block off center. Data entry often uses the numeric keypad heavily. A full-size keyboard is wide, and centering the whole chassis puts the letters to the left of the body and the number pad far to the right.
- The mouse sits at the end of a long reach. When the keyboard is wide, the mouse is pushed outward. The right shoulder and wrist then work at an angle for the entire shift.
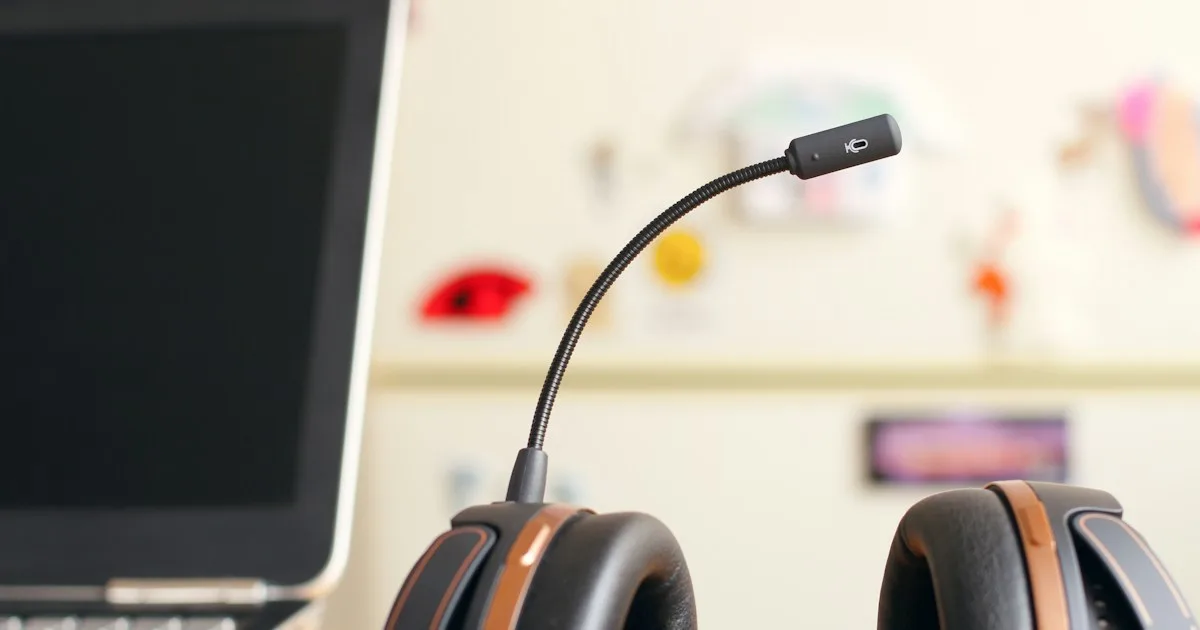
- Transcription adds a headset and a pause pedal. A foot pedal, a headset cable and a second screen change how the body is organized. The hands may hover over the keys while the foot controls playback, which encourages a tense, raised wrist position.
The goal is not a perfect posture for every second. It is a setup where the neutral position is easy to return to after each pause, each playback stop and each glance at the source.
The 15-minute setup for a data entry station
Start with the chair and the source material, then place the keyboard.
- Set the chair height first. Feet flat, knees roughly level with the hips, shoulders relaxed. If the chair is too low, the wrists bend up to reach the keys; if it is too high, the shoulders lift.
- Decide which block you use most. If the work is mostly names, addresses and free text, center the letter block. If it is mostly numbers, consider a keyboard with a separate number pad so the letter block can stay centered and the number pad can sit where the right hand naturally falls.
- Keep the number pad close, not stretched. The right hand should not have to reach across a wide chassis. If you use a separate number pad, place it beside the keyboard at the same height and angle.
- Clear a short mouse runway. Do not put the mouse behind the number pad or under a monitor stand. Keep it at the same level as the keyboard and close enough that the elbow stays near the body.
- Check the wrist angle with a photo. The hand should be roughly in line with the forearm, not bent up or rotated outward. A side photo is more reliable than judging by feel after an hour of work.
- Add tilt only after the flat position is stable. A riser helps when the keyboard is flat and the wrists still extend upward, or when the front edge presses into the desk. It does not replace chair height or distance.
A quick test: type a real record or transcribe one sentence, then stop. If you have to lift your hands and reset your shoulders, the keyboard is still too far forward or too high.
Where KeyRiser fits in a data entry workflow
KeyRiser is a two-piece riser for the Logitech MX Keys, MX Keys S and MX Keys Mini. It lifts the back edge of the keyboard to a fixed 15° angle. For high-volume typing, the relevant advantages are consistency and a small footprint:
- The angle is the same every shift. Unlike a book, a foam wedge or a folded cloth, the keyboard returns to the same position, which matters when the work is measured in thousands of keystrokes.
- It adds no depth. A full-size MX Keys already uses a lot of desk. KeyRiser sits under the existing keyboard instead of adding a tray that pushes the mouse farther away.
- Ports and shortcuts stay clear. The riser supports the back edge without covering the top row or the USB-C port on compatible models.
- It is model-specific. This is not a universal stand. Confirm you have an MX Keys, MX Keys S or MX Keys Mini before buying; the compatibility page shows the fit.
In a shared office or a hot-desking pool, a fixed riser also removes the daily rebuild of an improvised stack. That repetition is exactly what turns a small annoyance into a persistent problem.
Number pad, mouse and headset: the three-device handoff
The most common mistake in data entry ergonomics is treating the keyboard as the only input device. The handoff between keyboard, number pad and mouse deserves its own layout rule:
- Keep all input surfaces on the same plane. A keyboard on a high riser and a number pad on a low desk forces the wrist to drop and lift dozens of times per hour.
- Put the number pad on the side that matches your hand. Right-handed users usually keep it to the right; left-handed users may prefer a separate pad on the left. Either way, do not cross the body for every entry.
- Keep the mouse within a short arc. If the mouse is beyond the number pad, the shoulder has to reach. A compact keyboard plus a separate number pad can free space for the mouse.
- Route the headset cable away from the wrist. A cable that drags across the keyboard or catches the forearm creates a constant small correction. Use a cable clip or route it behind the desk.
- Use shortcuts for repeated fields. Tab, Enter and copy/paste should not require a trip to the mouse. Every trip away from the keys is a trip away from neutral.
If the foot pedal is part of the transcription workflow, place it so the knee stays bent at a comfortable angle and the foot does not have to reach. A pedal that is too far forward pulls the whole body toward the edge of the chair.
Monitors, source documents and focus distance
Data entry and transcription mix a screen with a source document, a recording or both. Three placement rules help:
- Put the source at eye level. A printed page flat on the desk forces the neck down. A document holder or a stand keeps it vertical and closer to the screen.
- Keep the primary screen directly ahead. If you use two monitors, put the one you read most often in the center and the secondary screen to the side at a shallow angle.
- Do not crank the neck for the second screen. A screen turned 45° or more forces a long rotation. Use it for reference, not for continuous reading.
- Check the viewing distance. If you lean in to read small text, the monitor is too far or the type is too small. Leaning forward also pulls the shoulders away from the keyboard.
For transcription, a headset with a good microphone reduces the need to lean toward a desktop mic. That alone can remove a repeated neck and shoulder movement.
Signs a keyboard riser is worth testing
A riser is worth a trial when several of these apply:
- Your wrists feel tired after a long shift even with the keyboard flat.
- You often prop the back of the keyboard on a book, a ream of paper or a folded cloth.
- The front edge of the keyboard presses into your palm or wrist.
- You want a more neutral wrist position without replacing a keyboard you like.
- You use an MX Keys, MX Keys S or MX Keys Mini and prefer a stable, removable accessory to a permanent desk modification.
A riser is not the first purchase if the chair is far too low, the monitor is off to the side or the keyboard is already at shoulder height. Correct those first. Ergonomics is a stack of small adjustments, and keyboard angle is only one layer.
Common mistakes in data entry and transcription
- Centering the whole full-size keyboard. Center the block you use most and keep the other block within a comfortable reach.
- Putting the keyboard on top of a paper stack. It creates an unstable surface and often lifts the front edge too.
- Buying a universal stand for an MX Keys. Fit matters. A loose stand lets the keyboard slide during fast entry.
- Ignoring the mouse hand. The wrist that hurts is not always the one on the keys. Check mouse distance and shoulder position too.
- Skipping micro-breaks because the queue is full. A 20-second pause every 20–30 minutes is easier to sustain than a long break after pain appears.
- Waiting for pain before changing anything. Small adjustments are easier to evaluate before a busy period than in the middle of one.
A realistic shift with this setup
A simple routine helps the change stick:
- Start of shift: clear the desk, put the keyboard in the same place and begin with yesterday’s chair height.
- Every 20–30 minutes: pause for 20 seconds, drop the shoulders, open and close the hands and check that the wrists are not resting on a hard edge.
- After each batch: reset the source document and the mouse runway before the next queue.
- End of shift: return the keyboard to its place and leave the riser fitted, so tomorrow starts from the same baseline.
The goal is not perfect posture for eight hours. It is a setup that makes the neutral position the easy default, even on a day when the queue never empties.
Related KeyRiser resources
- Check availability on Amazon
- Confirm compatibility with MX Keys, MX Keys S or MX Keys Mini
- Compare KeyRiser with a generic stand
- Read the keyboard ergonomics guide by job type
- See specifications and installation
Frequently asked questions
Is KeyRiser compatible with the Logitech MX Keys S?
Yes. KeyRiser is designed for the Logitech MX Keys, MX Keys S and MX Keys Mini. It is not a universal stand, so confirm your exact model on the compatibility page before ordering.
Can a keyboard riser help with wrist pain from data entry?
It can change the keyboard angle and make a neutral wrist position easier to hold. It is not a medical treatment, and results vary. If pain, numbness or tingling persists, consult a qualified healthcare professional.
Should I use a wrist rest with the riser?
A wrist rest can support the heel of the hand between key sequences, but it should not be used as a platform while typing. Keep the wrists floating or lightly supported and avoid pressing them into a hard edge.
What is the best keyboard for transcription?
The best keyboard is one you can keep in a stable, neutral position for long sessions. A low-profile keyboard such as the MX Keys or MX Keys Mini works for many people, especially when paired with a riser that keeps the angle consistent. Try before committing to a new layout.
Is 15° too steep for high-volume typing?
Some people notice the change immediately; others need several short sessions. Start with 15–20 minutes of real work and increase gradually. If the angle feels aggressive, stop and review chair height and keyboard distance first.
Where should the number pad go?
Where the right hand naturally falls without crossing the body. If you use a separate number pad, place it beside the keyboard at the same height and angle. If you use a full-size keyboard, center the letter block and accept that the number pad sits to the right.
This guide is educational content, not medical advice. If pain, numbness, tingling, weakness or swelling persists, consult a qualified healthcare professional. Availability, price and returns are managed by Amazon.
Ready for a Better Typing Angle?
Check KeyRiser on Amazon and confirm compatibility with your MX Keys model.
Buy Now - $16.99Related Articles




Complete your MX Keys setup
KeyRiser first, then the desk complements
KeyRiser addresses keyboard angle. These recommendations cover adjacent setup needs without replacing it.
Complete your MX Keys setup
KeyRiser lifts your keyboard; these complements cover mouse, wrist, monitor, or desk support — they do not replace it.
 Desk complementGORILLA GRIP Memory Foam Wrist Rest for Keyboard - 2 Piece PinkSame soft two-piece support in pink, sized for full-size keyboards and a mouse pad.View on AmazonPaid link
 Desk complementPHILIPS SPK7628 Ergonomic MouseWireless ergonomic mouse with three adjustable DPI levels for office and travel use.View on AmazonPaid link
 Desk complementFellowes Crystals Gel Keyboard Wrist Rest - PurpleCrystal gel wrist rest with a firm edge that keeps wrists elevated above the keyboard line.View on AmazonPaid link
 Desk complementProtoArc EM03 Wireless Bluetooth Trackball MouseIndex-finger trackball with three-device switching that reduces repetitive wrist movement.View on AmazonPaid link
As an Amazon Associate, we earn from qualifying purchases.