Keyboard setup for architects and CAD users (2026)
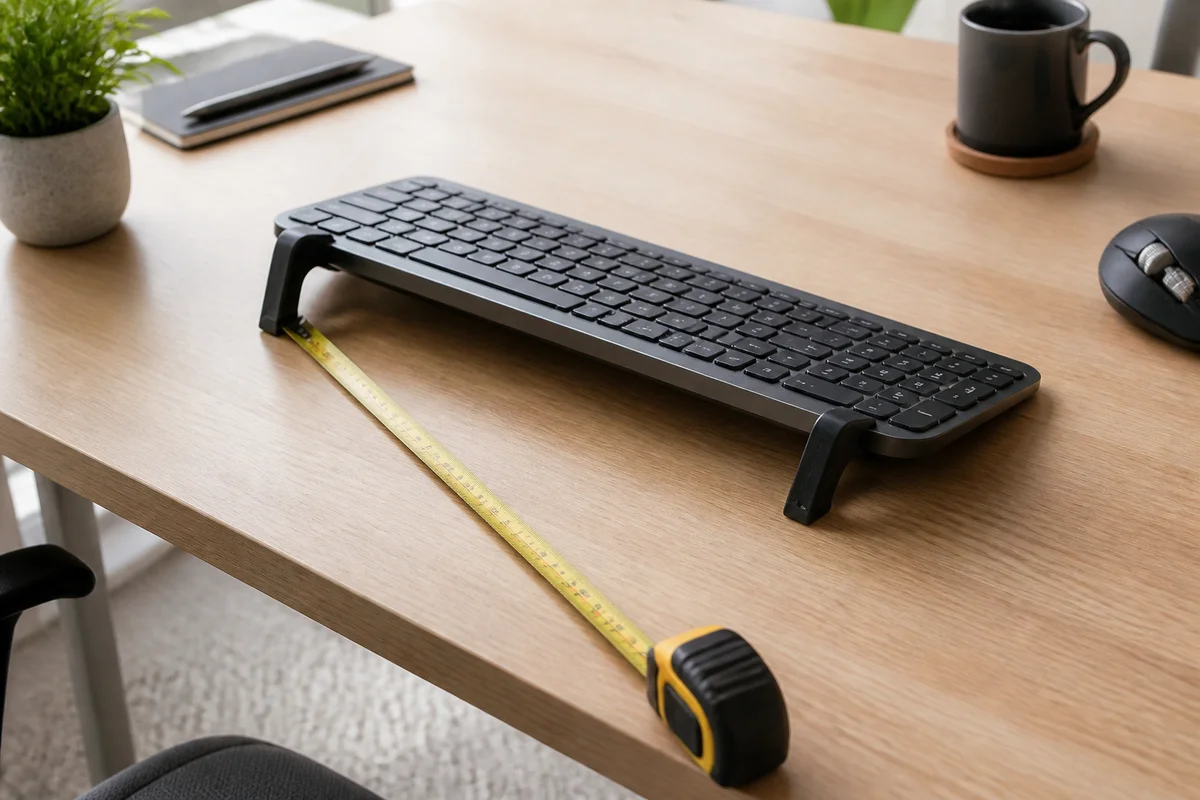
A practical desk setup for CAD work: keep the letter block centered, protect the mouse handoff, and use a stable 15° riser during long drawing sessions.
CAD work is not typing with pictures. It is a continuous conversation between two hands, three input devices and a model that keeps changing scale. An architect might hold a shortcut with the left hand, orbit with a 3D mouse in the right, then switch to a standard mouse to place a dimension, then return to the keyboard to type a revision note. The keyboard is never the only tool, but it is the anchor every other movement returns to.
That makes the usual advice — put the keyboard in front of the monitor and keep your wrists straight — only a starting point. The real problem in a design studio is the handoff: how far the hand travels, how often the wrist rotates, and whether the keyboard stays in one predictable place while the other devices move around it. This guide covers a CAD-specific setup that protects that handoff, and explains where a model-specific riser such as KeyRiser earns its place.
Why CAD work stresses the wrists differently
Three things separate a drafting station from a writing desk:
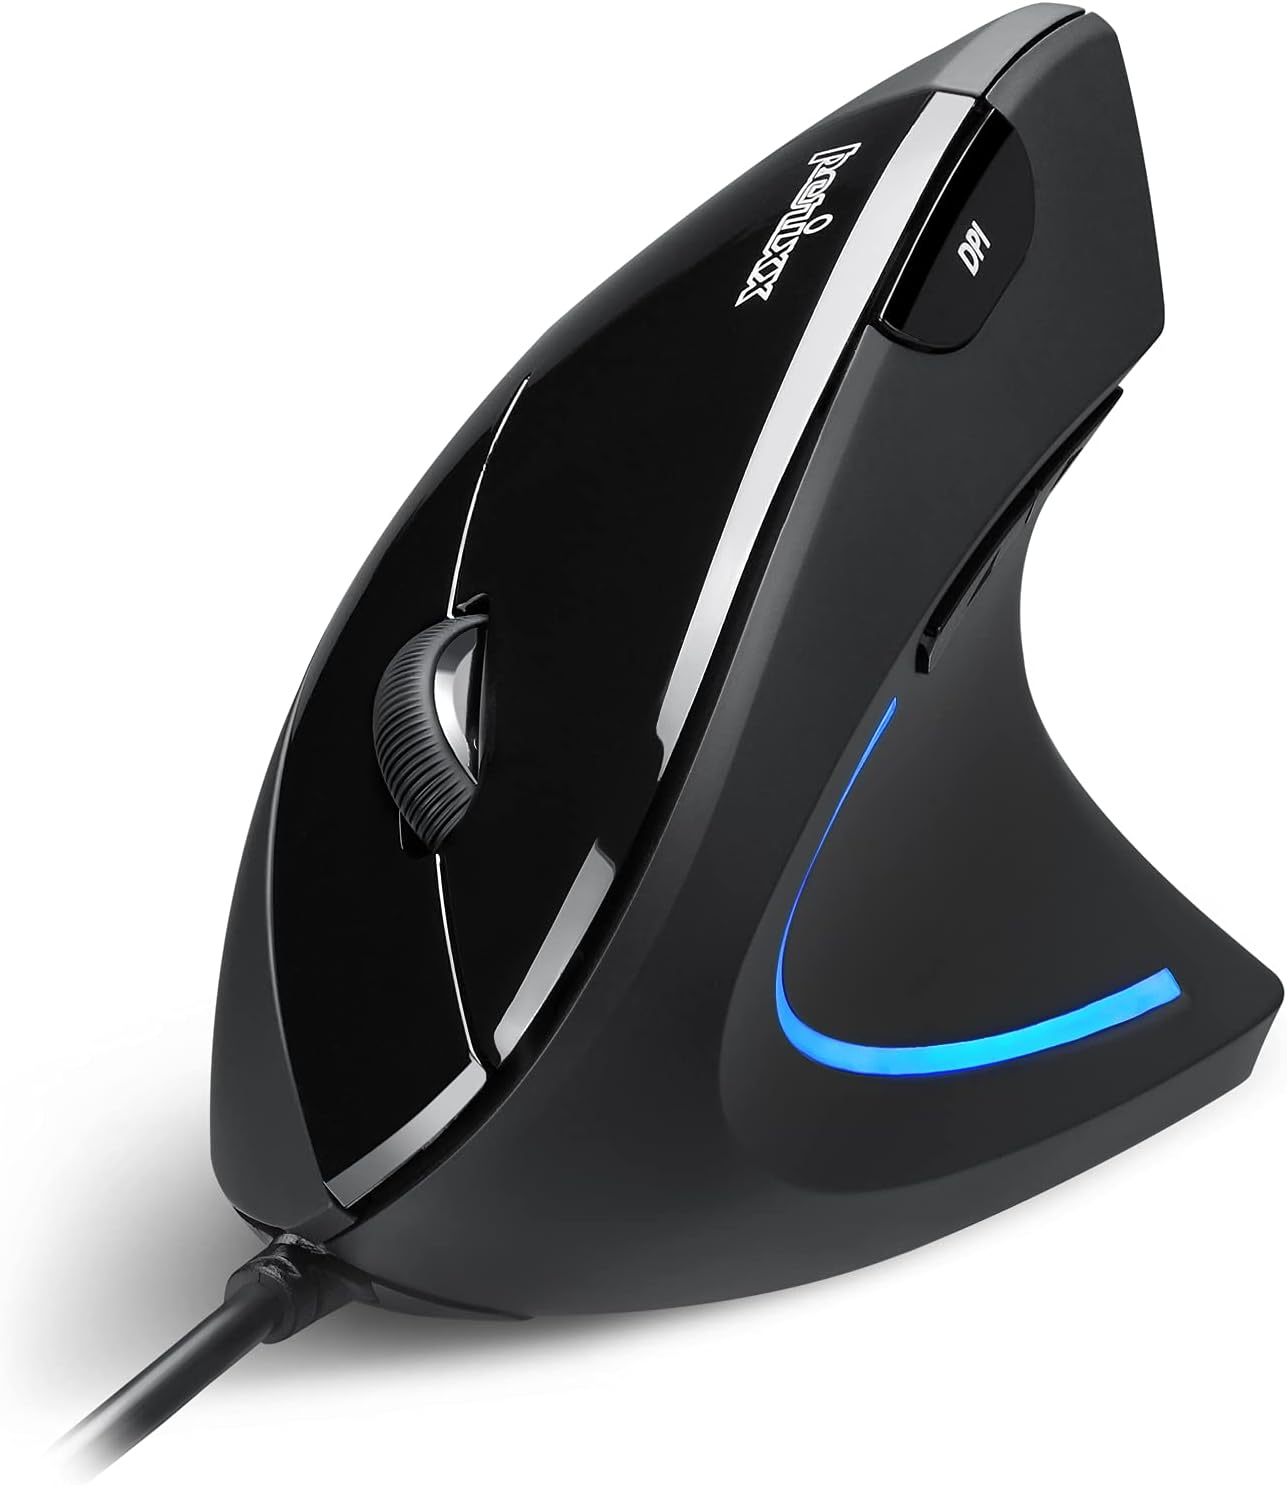 Desk complementPerixx PERIMICE-513 Wired Ergonomic Vertical MouseQuiet-click vertical mouse that keeps the wrist upright to reduce strain over long computer days.View on AmazonPaid link
As an Amazon Associate I earn from qualifying purchases.
- The mouse does as much work as the keyboard. In many CAD workflows the right hand spends more time on a mouse or 3D controller than on the keys. A keyboard setup that ignores the mouse hand solves only half the problem.
- The desk has to hold more than a keyboard. Drawings, a scale ruler, a notebook, a second screen and a 3D mouse all compete for the same depth. The keyboard is often pushed to the front edge, where the wrists lose support.
- Sessions are long and visually intense. A plan can take hours to refine. The hand stays in precision mode far longer than during ordinary office typing, and small awkward angles accumulate.
A good CAD station therefore needs a stable keyboard, a short path to every pointing device and enough clear depth to keep the shoulders relaxed. It does not need a completely different keyboard.
The 15-minute setup for a drafting station
Start with the chair and the drawing reference, then place the devices.
- Set the chair height first. Feet flat, knees roughly level with the hips, shoulders down. If the chair is too low the wrists bend up to reach the keys; if it is too high the shoulders lift.
- Center the letter block, not the whole keyboard. Full-size keyboards with a number pad look centered when the chassis is centered, but the letters sit left of the body. Line the letter block up with your sternum and let the number pad live on the right.
- Put the mouse where the hand actually lands. Do not make the right hand cross a stack of drawings. Clear a runway beside the keyboard and keep the most-used pointing device at the end of it.
- Keep the elbows close. Forearms should slope slightly down or stay level. Reaching forward to type or to grab the mouse means the whole station is too far away.
- Check the wrist angle with a photo. The hand should be roughly in line with the forearm, not bent up or rotated outward. A phone photo from the side is more reliable than judging from memory.
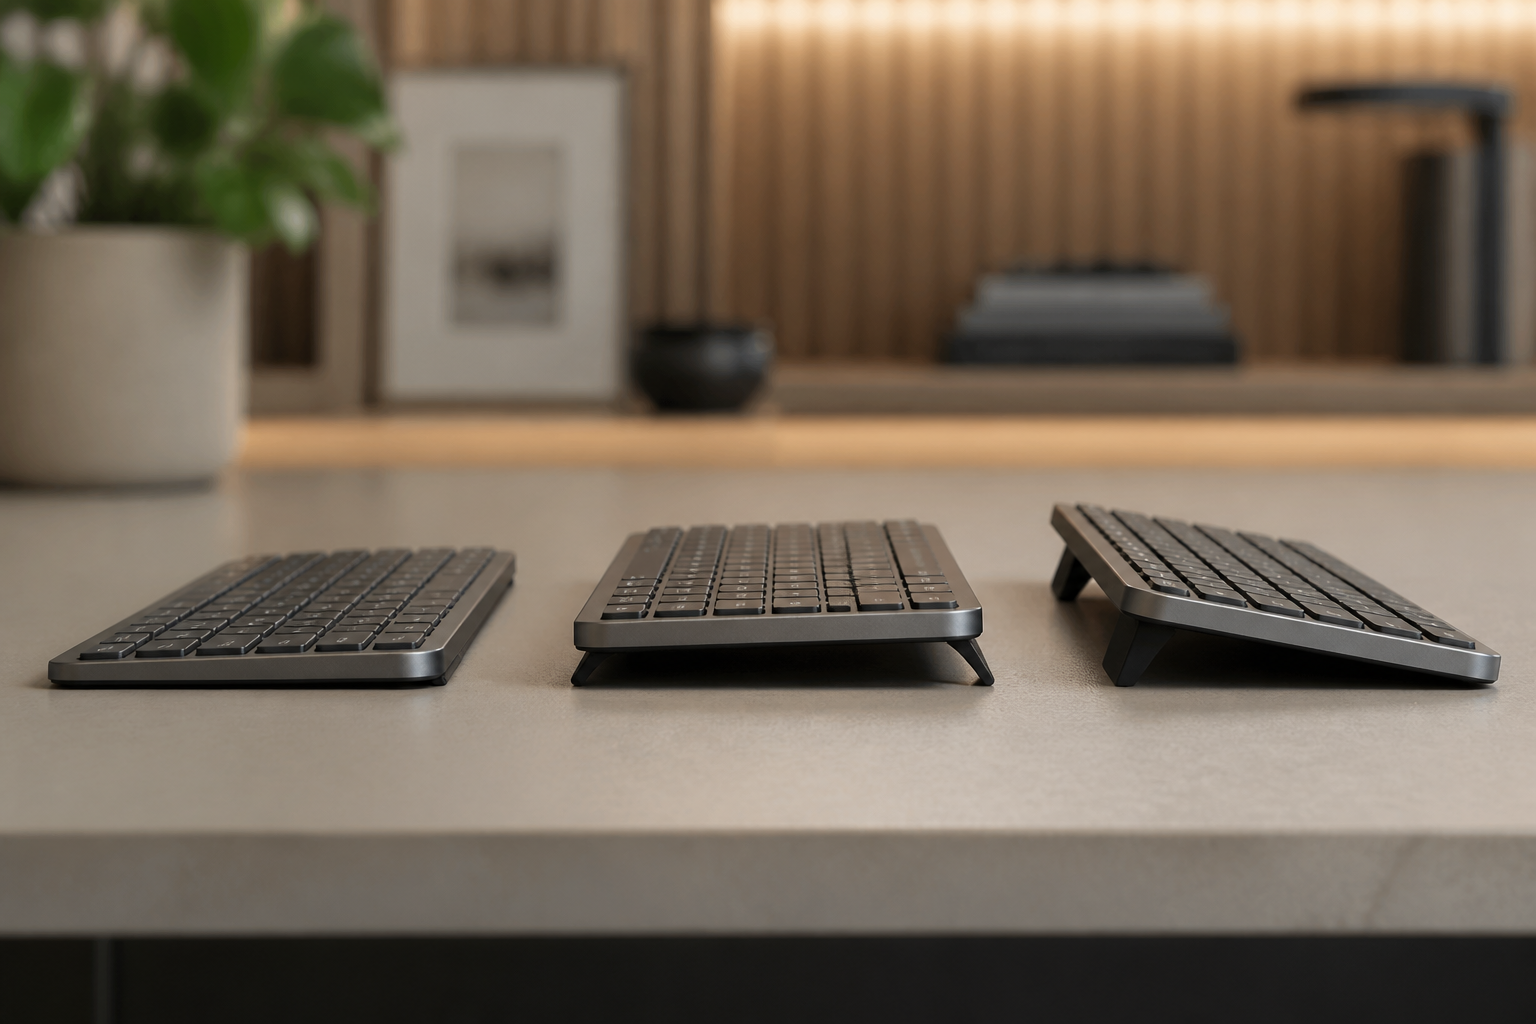
- Add tilt only after the flat position is stable. A riser helps when the keyboard is flat and the wrists still extend upward, or when the front edge presses into the desk. It does not replace chair height or distance.
The test: draw for ten minutes, then stop. If you have to lift both hands and reset your shoulders, the keyboard or the mouse is still too far forward.
Where KeyRiser fits in a CAD studio
KeyRiser is a two-piece riser for the Logitech MX Keys, MX Keys S and MX Keys Mini. It lifts the back edge of the keyboard to a fixed 15° angle. For CAD work, the useful advantages are consistency and footprint:
- The angle is identical every session. Unlike a book, a wedge of foam or a folded cloth, the keyboard returns to the same position, which matters when you alternate between drawing and writing notes all day.
- It adds no desk depth. A full-size MX Keys with a number pad already uses a lot of the desk. KeyRiser sits under the existing keyboard instead of adding a tray that pushes the mouse farther away.
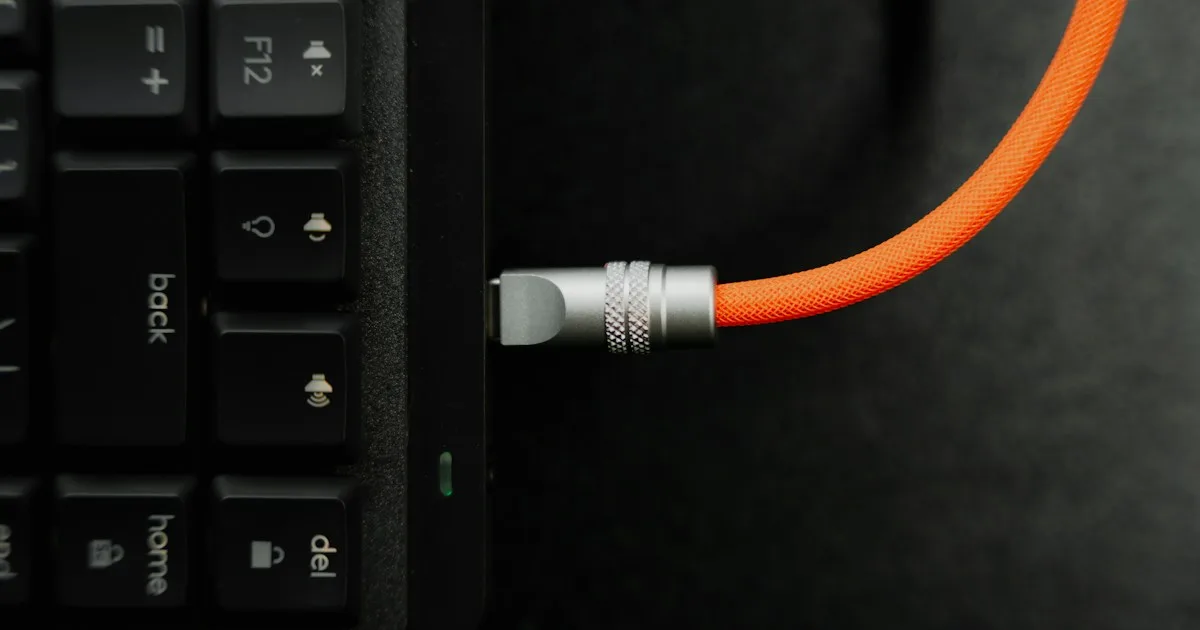
- Ports and shortcuts stay clear. The riser supports the back edge without covering the top row or the USB-C port on compatible models.
- It is model-specific. This is not a universal stand. Confirm you have an MX Keys, MX Keys S or MX Keys Mini before buying; the compatibility page shows the fit.
In a shared studio or hot-desking office, a fixed riser also removes the daily rebuild of an improvised stack. That repetition is exactly what turns a small annoyance into a persistent problem.
The handoff between keyboard, mouse and 3D controller
The most common CAD ergonomics mistake is treating the keyboard in isolation. The handoff deserves its own layout rule:
- Keep the keyboard and primary pointing device on the same plane. A keyboard on a high riser and a mouse on a low desk forces the wrist to drop and lift dozens of times per hour.
- Put the 3D mouse where it does not block the keyboard. Many designers place it to the left of the keyboard and use the standard mouse on the right. That can work, but the left wrist must not be forced into a constant twist.
- Do not alternate between two mouse positions that require different shoulder angles. Pick one home position for each hand and return to it.
- Use keyboard shortcuts for commands you repeat. Every trip to a menu is a trip away from the neutral position. Learn the handful of shortcuts that match your most common drawing operations.
If the mouse pad is under the keyboard tray or behind the drawing set, the setup is fighting the work. Clear the runway before buying another accessory.
Monitors, drawings and focus distance
CAD work mixes a large screen with a physical drawing or a printed detail. Two placement rules help:
- Put the model on the screen you look at most. If you draw on a large monitor and keep a laptop open for email, the large monitor should occupy the keyboard’s center line.
- Bring the reference drawing close to the screen. A plan flat on the far side of the desk makes the eyes refocus constantly. A drawing stand or a raised holder keeps it nearer eye level and reduces neck flexion.
- Do not put a second screen at a sharp angle. A screen turned 45° or more forces the neck to rotate for long periods. Use it for reference, not for precision work.
- Keep the viewing distance comfortable. If you lean in to inspect details, the monitor is too far or the text is too small. Leaning forward also pulls the shoulders away from the keyboard.
A monitor arm can free desk depth, but it does not fix a keyboard that is already too far forward. Fix the input zone first.
Signs a keyboard riser is worth testing
A riser is worth a trial when several of these apply:
- Your wrists feel tired after a long drawing session even with the keyboard flat.
- You often prop the back of the keyboard on a book, a roll of tape or a folded cloth.
- The front edge of the keyboard presses into your palm or wrist.
- You want a more neutral wrist position without replacing a keyboard you like.
- You use an MX Keys, MX Keys S or MX Keys Mini and prefer a stable, removable accessory to a permanent desk modification.
A riser is not the first purchase if the chair is far too low, the monitor is off to the side or the keyboard is already at shoulder height. Correct those first. Ergonomics is a stack of small adjustments, and keyboard angle is only one layer.
Common mistakes in CAD studios
- Centering the whole full-size keyboard. Center the letter block on the body and leave the number pad to the right.
- Putting the keyboard on top of a drawing set. It creates an unstable surface and often lifts the front edge too.
- Buying a universal stand for an MX Keys. Fit matters. A loose stand lets the keyboard slide during fast shortcut work.
- Ignoring the mouse hand. The wrist that hurts is not always the one on the keys. Check mouse distance and shoulder position too.
- Waiting for pain before changing anything. Small adjustments are easier to evaluate before a deadline than in the middle of one.
A realistic day with this setup
A simple routine helps the change stick:
- Morning: clear the desk, put the keyboard in the same place and start with yesterday’s chair height.
- Mid-morning: stand up, roll the shoulders back and check that the keyboard has not crept toward the edge.
- After lunch: reset the drawing reference and the mouse runway before the afternoon session.
- End of day: return the keyboard to its place and leave the riser fitted, so tomorrow starts from the same baseline.
The goal is not perfect posture for eight hours. It is a setup that makes the neutral position the easy default, even on a deadline day.
Related KeyRiser resources
- Check availability on Amazon
- Confirm compatibility with MX Keys, MX Keys S or MX Keys Mini
- Compare KeyRiser with a generic stand
- Read the keyboard ergonomics guide by job type
- See specifications and installation
Frequently asked questions
Is KeyRiser compatible with the Logitech MX Keys S?
Yes. KeyRiser is designed for the Logitech MX Keys, MX Keys S and MX Keys Mini. It is not a universal stand, so confirm your exact model on the compatibility page before ordering.
Can a keyboard riser help with wrist pain from CAD work?
It can change the keyboard angle and make a neutral wrist position easier to hold. It is not a medical treatment, and results vary. If pain, numbness or tingling persists, consult a qualified healthcare professional.
Should I use a wrist rest with the riser?
A wrist rest can support the heel of the hand between key sequences, but it should not be used as a platform while typing. Keep the wrists floating or lightly supported and avoid pressing them into a hard edge.
Does the riser work with a 3D mouse?
The riser changes the keyboard angle, not the 3D mouse. Keep the 3D mouse on the same surface plane as the keyboard and make sure the left wrist is not forced into a constant twist.
Is 15° too steep for CAD work?
Some people notice the change immediately; others need several short sessions. Start with 15–20 minutes of real drawing and increase gradually. If the angle feels aggressive, stop and review chair height and keyboard distance first.
Where should the keyboard go when there are two monitors?
In front of the screen you look at most. If you draw on a large monitor and read on a laptop, the large monitor should occupy the keyboard’s center line and the laptop should sit to the side at a comfortable angle.
This guide is educational content, not medical or professional advice. If pain, numbness, tingling, weakness or swelling persists, consult a qualified healthcare professional. Availability, price and returns are managed by Amazon.
Ready for a Better Typing Angle?
Check KeyRiser on Amazon and confirm compatibility with your MX Keys model.
Buy Now - $16.99Related Articles


Complete your MX Keys setup
KeyRiser first, then the desk complements
KeyRiser addresses keyboard angle. These recommendations cover adjacent setup needs without replacing it.
Complete your MX Keys setup
KeyRiser lifts your keyboard; these complements cover mouse, wrist, monitor, or desk support — they do not replace it.
 Desk complementLogitech Lift Vertical Ergonomic Mouse - Off WhiteCompact vertical shape suited to smaller hands, with quiet clicks and a soft, relaxed grip.View on AmazonPaid link
 Desk complementRazer Goliathus Extended Control Soft Gaming Mouse MatGoliathus Extended Control cloth mat with textured weave for precision, stitched frame, and anti-slip rubber base.View on AmazonPaid link
 Desk complementGlorious Gaming Wrist Pad Rest Compact BlackCompact stitched-edge wrist pad for mechanical keyboards that softens wrist contact during long gaming or work sessions.View on AmazonPaid link
 Desk complementRazer Gaming Mouse Bungee V3 ChromaWeighted mouse bungee with a flexible arm that keeps wired cables off the pad.View on AmazonPaid link
As an Amazon Associate, we earn from qualifying purchases.