
Back-to-School and Fall Work Desk Setup: A Better Keyboard Position
Reset your desk for the fall with a practical keyboard ergonomics checklist. Learn how keyboard height, angle, distance, and breaks can support more comfortable typing.
Back-to-School and Fall Work Desk Setup: A Better Keyboard Position
A new semester, a return to the office, or a busy autumn work schedule is a useful moment to reset your desk. Small changes to keyboard height, angle, distance, and daily habits can make typing feel more comfortable without replacing your entire workspace.
This practical fall desk setup checklist focuses on one goal: keeping your hands and forearms in a relaxed, neutral position while you work.
1. Start With Keyboard Height
Your keyboard should sit low enough that your shoulders can relax and your elbows stay close to your body. Adjust your chair or desk so your forearms are roughly level with the work surface. If raising the chair leaves your feet unsupported, add a stable footrest rather than letting your legs dangle.
There is no single height that fits everyone. Use comfort and wrist alignment as the test: your wrists should not feel forced upward or sharply bent while you type.
2. Check the Keyboard Angle
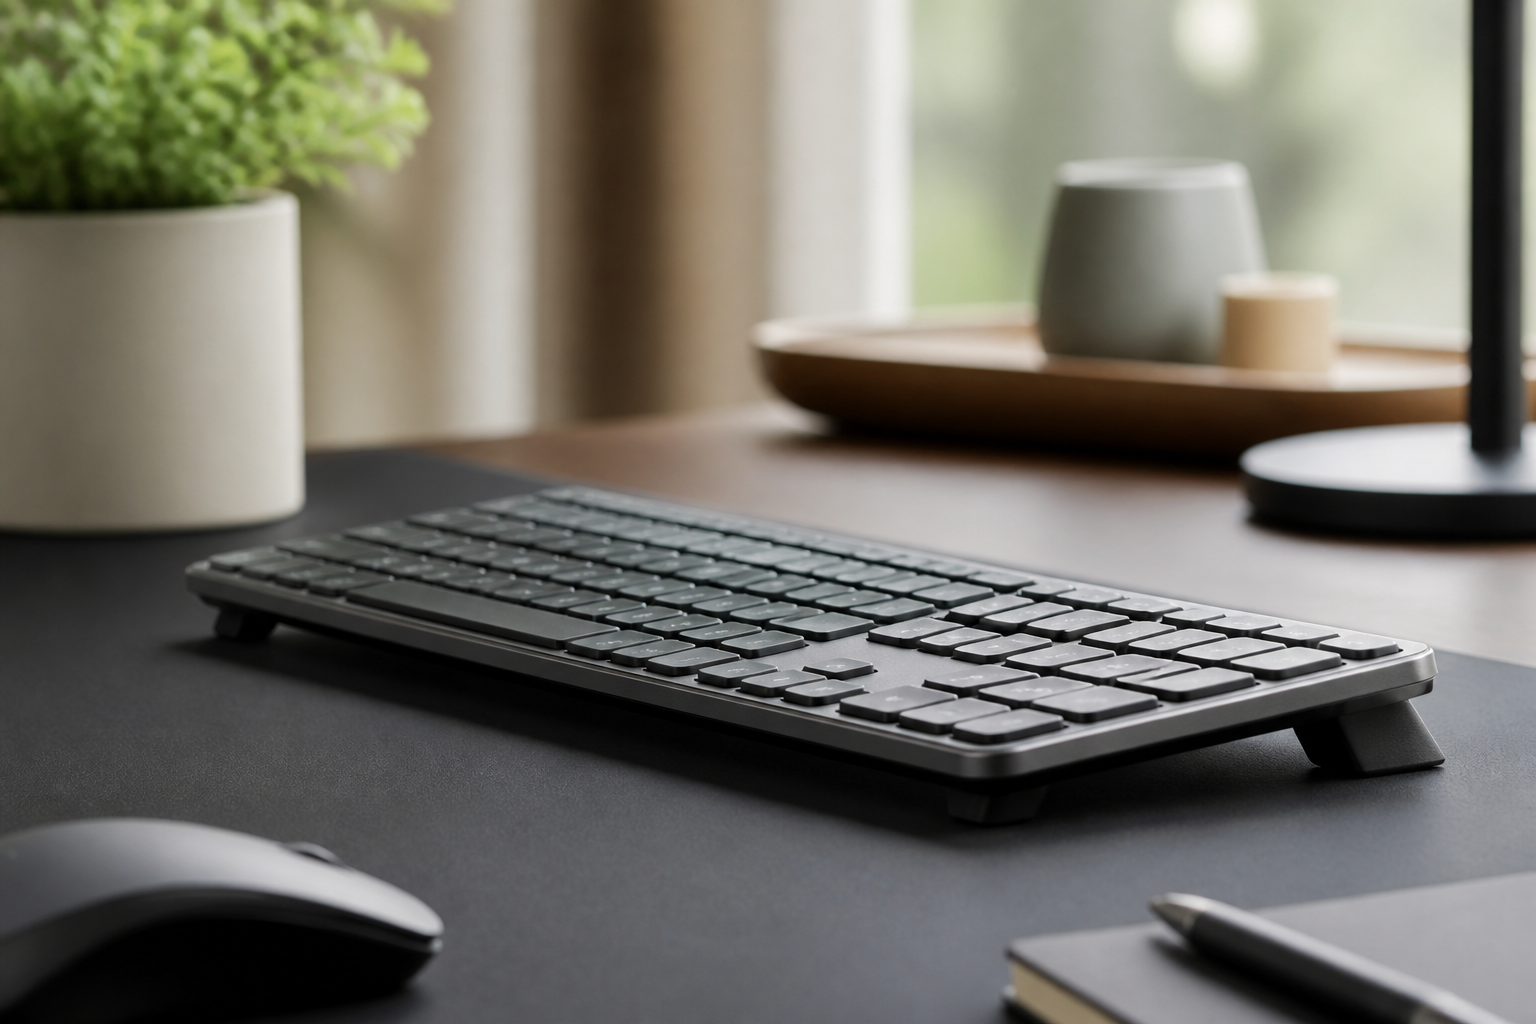
Many keyboards use fold-out rear feet that raise the back edge. That positive tilt may feel familiar, but it can place the wrists in extension. Try folding those feet away and testing a flat or front-raised position instead.
A dedicated keyboard riser can make a chosen angle stable and repeatable. KeyRiser provides a fixed 15-degree front lift for compatible keyboards, including Logitech MX Keys models. It is a positioning accessory, not a medical device, and individual comfort varies.
3. Set Keyboard Distance Before Moving Your Monitor
Place the keyboard close enough that your elbows remain near your sides. You should not reach forward or shrug to type. Keep the mouse close to the keyboard and at a similar height so switching between devices does not require repeated shoulder or wrist reaches.
If your desk is shallow, measure the keyboard, riser, and monitor stand together before buying accessories. A few minutes with a tape measure can prevent an inconvenient autumn desk reset.
4. Make the Screen Work With the Keyboard
Once the keyboard is positioned, adjust the monitor so you can read without leaning forward. The top of the screen is often near eye level, but your preferred position depends on screen size, vision, and whether you use one or two monitors.
The important relationship is simple: do not raise the keyboard so much that your shoulders tense while trying to solve a monitor problem.
5. Use a 50-Minute Work Rhythm
A better desk cannot replace breaks. Every 45–60 minutes, pause briefly, look away from the screen, relax your hands, and change position. During long writing or coding sessions, alternate tasks when possible instead of repeating the same movement continuously.
Stop any exercise or adjustment that causes pain. Persistent pain, numbness, tingling, weakness, or symptoms that interfere with sleep or daily activities should be assessed by a qualified healthcare professional.
Quick Fall Desk Checklist
- Shoulders relaxed, elbows close to the torso
- Wrists aligned comfortably with the forearms
- Keyboard close enough that you do not reach forward
- Rear keyboard feet folded unless they suit your posture
- Front-raised angle tested gradually, if comfortable
- Mouse close to the keyboard
- Monitor positioned without leaning forward
- Short movement breaks scheduled during long sessions
Is a Keyboard Riser Worth Adding?
A keyboard riser is most useful when your current keyboard angle is the part of the setup you cannot keep consistent. Books or towels can help you test front lift temporarily, but they can shift during typing and make the height unpredictable.
For a cleaner permanent setup, KeyRiser offers a compact fixed-angle option for compatible keyboards. Check the product dimensions and keyboard compatibility before ordering, then make the change gradually and keep the rest of your workstation aligned.
How to Tune the Setup Without Starting Over
A seasonal desk reset does not need to become a shopping list. Photograph your current setup before moving anything, then change one variable at a time. Start by lowering or raising the chair until your elbows can rest near the sides of your body. Next, bring the keyboard and mouse closer. Only after those changes should you test a different keyboard angle.
Use a short comparison rather than relying on memory. Type a familiar paragraph for three minutes with the keyboard flat, pause, and then repeat with the chosen front lift. Notice whether you reach forward, raise your shoulders, press your wrists into the desk, or change your grip on the mouse. Those observations tell you more about the fit of the whole workstation than a single angle number.
Check the setup again when the season changes. A student may move from a library table to a dorm desk; a hybrid worker may alternate between a kitchen table and an office workstation; a teacher may use a classroom desk with a different height. The same keyboard accessory can feel different when the supporting furniture changes, so reassess the chair, feet, elbows, screen, and mouse each time.
A Simple Reset for Shared Desks
If several people use the same desk, mark the preferred keyboard position with a small removable reference point on the desk rather than changing the hardware permanently. Keep a compact footrest nearby, and store the keyboard riser with the keyboard so the angle is not lost during a desk change. When you return, confirm that the riser is seated evenly and that the keyboard does not rock before starting a long session.
For laptop users, separate the screen problem from the keyboard problem. Raise the laptop screen with a stable stand if needed, then use an external keyboard at the height that suits your elbows. Do not place the laptop on a high riser and keep typing on its built-in keyboard if that forces your shoulders or wrists into an awkward position.
Use a Simple Decision Order
When a setup feels wrong, troubleshoot it in a fixed order instead of changing several things at once. First check whether your feet are supported and your shoulders are relaxed. Next check whether your elbows can stay near your sides. Then adjust the keyboard and mouse distance. Only after those basics are comfortable should you compare a flat keyboard with a front-raised angle.
This order is useful on a student desk, a shared office table, or a temporary autumn workspace because it keeps the experiment understandable. Write down the chair height and keyboard position before you begin, test a familiar paragraph for a few minutes, and note whether the keyboard stays stable. If a change creates pain, numbness, tingling, or weakness, stop rather than trying to push through the test.
Final Takeaway
The best fall desk setup is not the one with the most accessories. It is the one that lets you type with relaxed shoulders, comfortable elbows, and wrists that stay aligned with your forearms. Start with height and distance, test the angle, and build regular pauses into your day.
This article is educational information, not medical advice. A keyboard riser may support a more comfortable typing setup, but it cannot prevent or treat a medical condition. Seek professional advice for persistent or concerning symptoms.
Related Reading
Ready for a Better Typing Angle?
Check KeyRiser on Amazon and confirm compatibility with your MX Keys model.
Buy Now - $9.99Related Articles

Complete your MX Keys setup
KeyRiser first, then the desk complements
KeyRiser addresses keyboard angle. These recommendations cover adjacent setup needs without replacing it.